

Sealing the Cybertruck Vault
3-level approach to dust-proofing the bed: tailgate seal, smuggler's bay door seal, and bed mat technique. Keep dust out on every trail run.
// Curated Gear for the Trail

Spec-focused reviews of off-road accessories for the Cybertruck. No fluff. No affiliate spam walls. Just the gear that works.
In-depth guides and walkthroughs for the Cybertruck.
View all articles →3-level approach to dust-proofing the bed: tailgate seal, smuggler's bay door seal, and bed mat technique. Keep dust out on every trail run.

I tested three aftermarket HEPA filters against the Tesla OEM. None of them held up. Here's why the activated carbon layer matters and what happens after a few months.

Not all Cybertruck roof glass is the same. Which glass type allows Starlink Mini to work from underneath? Compatibility chart and identification tips.

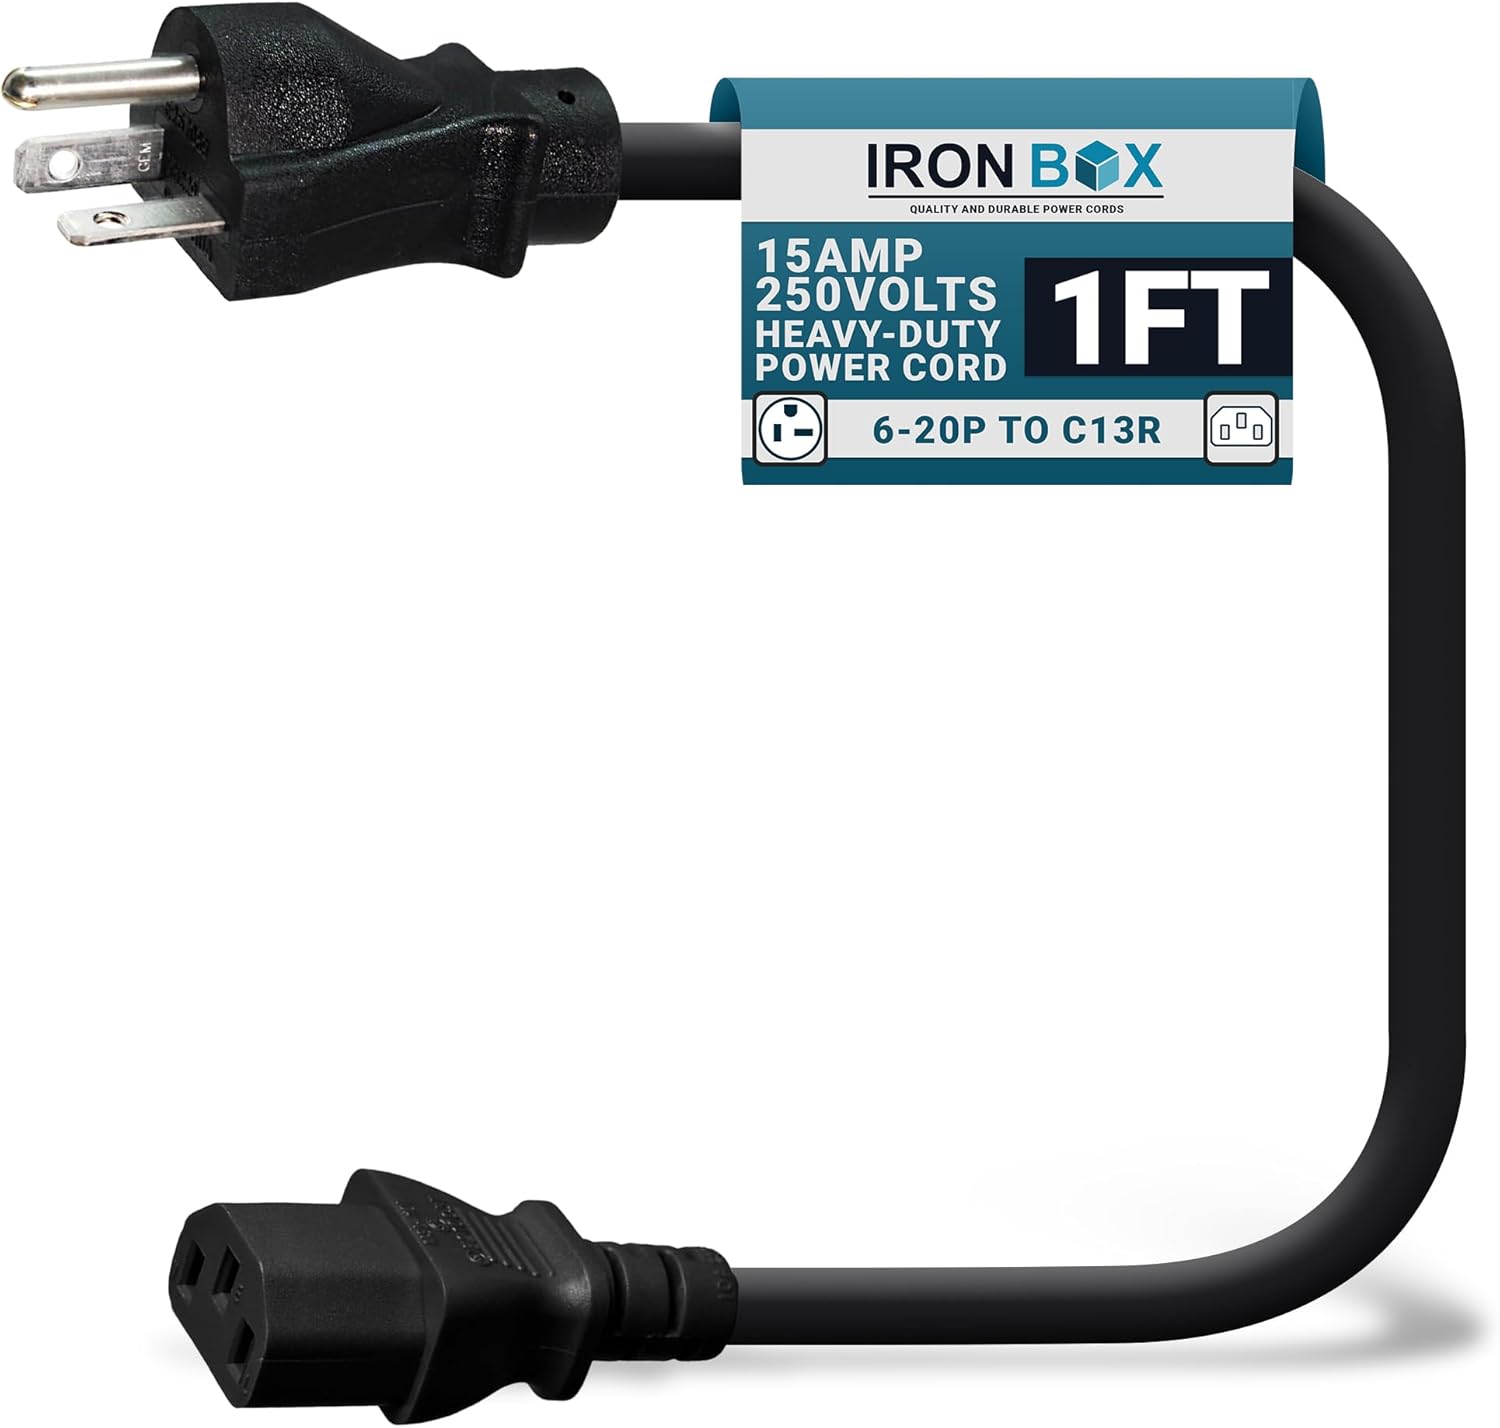
Power a 12,000 lb winch from the Cybertruck's 240v 50A plug using four HP Common Slot power supplies wired in parallel. Full parts list and wiring breakdown.

Flat tire, no jack? Use the CT's air suspension and a chunk of 6x6 lumber to lift the wheel off the ground in 20 minutes. Field-tested technique from the community.
Tire management is everything off-road. Deflate for traction, re-inflate when you hit pavement.
Roundup: best tire inflators →
~$30
Brass construction, adjustable target PSI. Set them and walk away — all 4 tires deflate simultaneously to your preset.

~$130
Tankless. Inflates all 4 tires 35–50psi simultaneously in 3.5 min. Runs off 120v AC from the CT bed outlet.
~$200
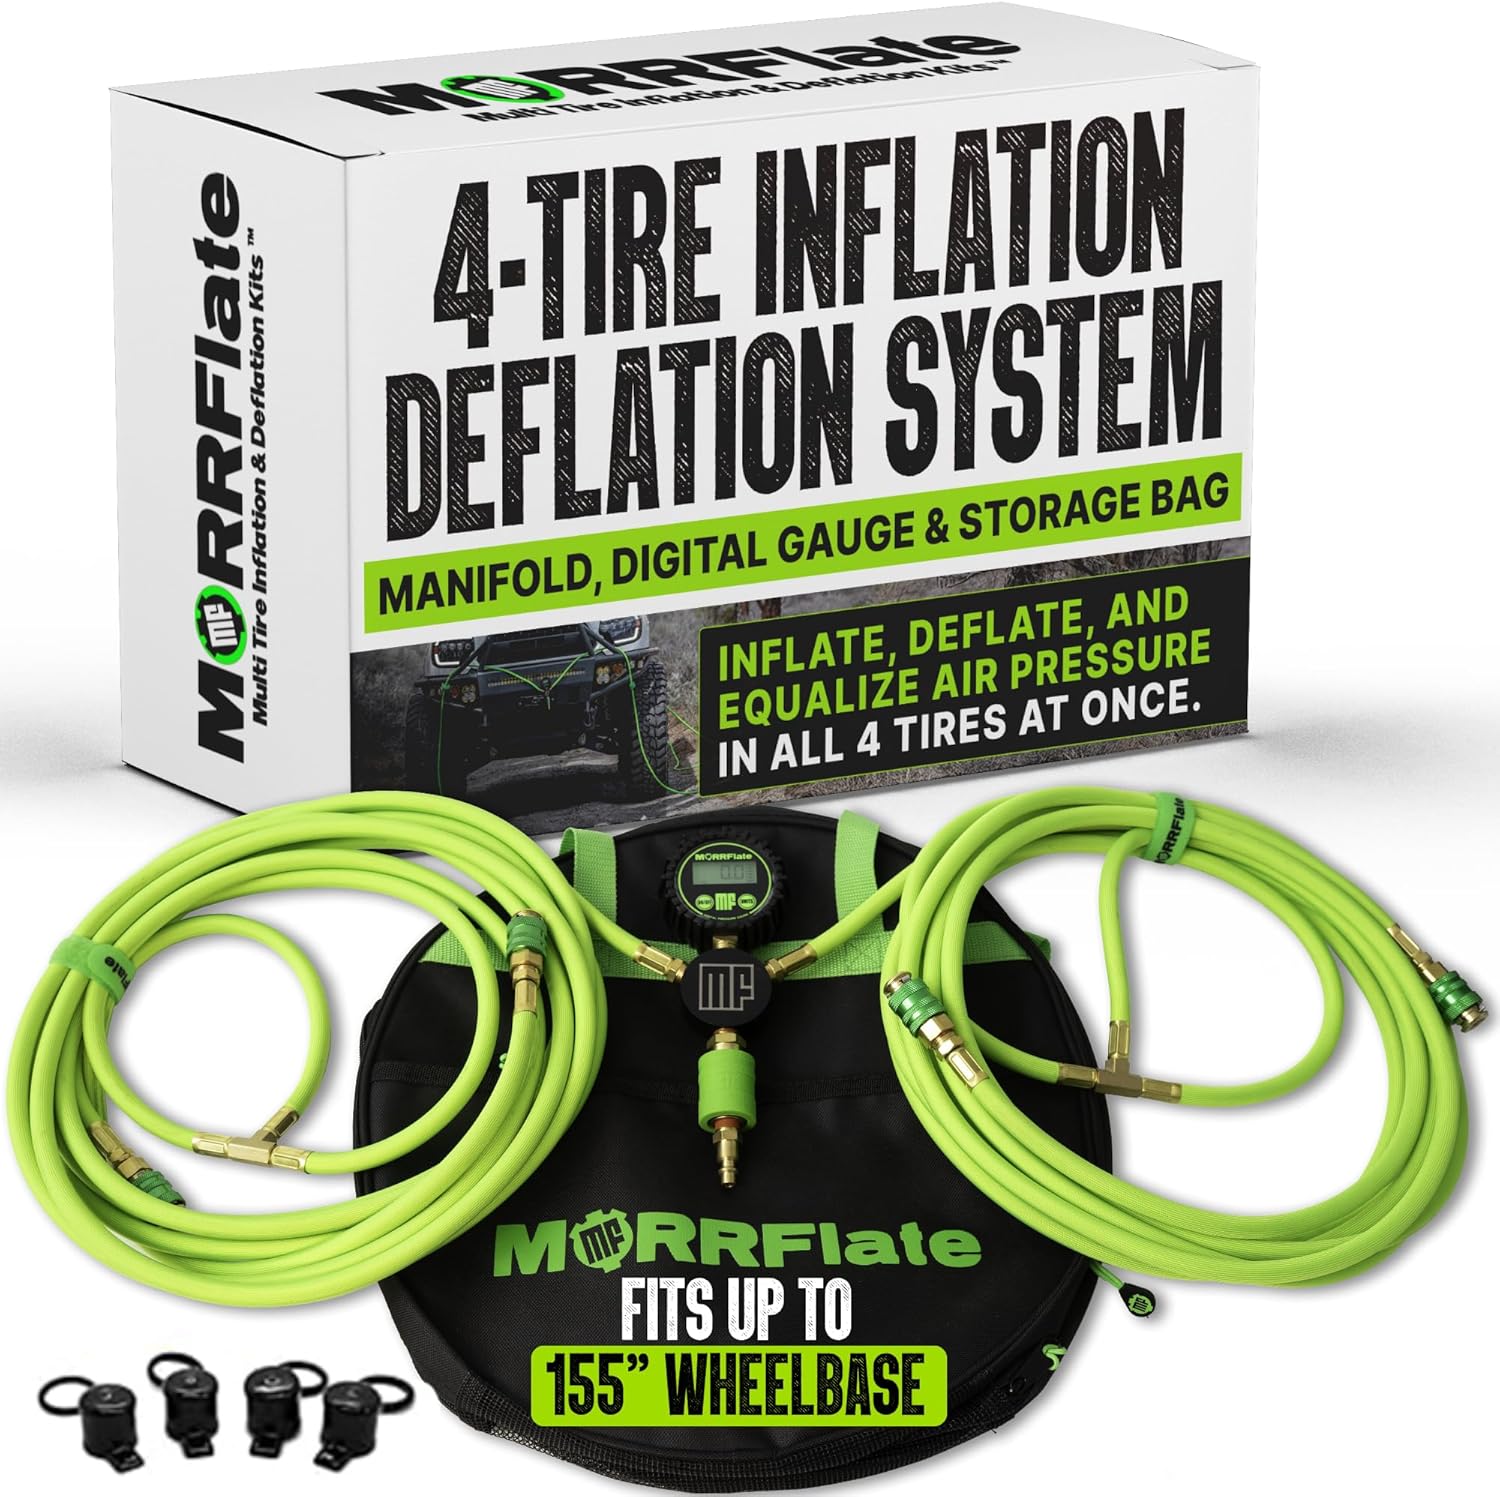
4-way manifold for inflating all tires at once. Best paired with the tankless compressor above — connect it and air up all 4 tires simultaneously.
Check Price on Amazon
~$15
Quick-connect adapter to bridge your compressor to the multi-tire manifold. Universal fitting.
Check Price on Amazon
~$100
Compact portable inflator. Good backup option if you don't want the full tankless setup.
Check Price on AmazonWhen you're stuck, you need gear you can trust. Don't cheap out here.
⚠ Warning
DO NOT use a tow ball for vehicle recovery. A tow ball under load can shear off and become a lethal projectile. Use soft shackles or a shackle block instead.

~$300 / ~$160
MAXTRAX. Nylon-reinforced, built to handle the CT's weight. Xtreme is the premium pick; MKII is solid on a budget.
Xtreme — Top Pick MKII — Budget Option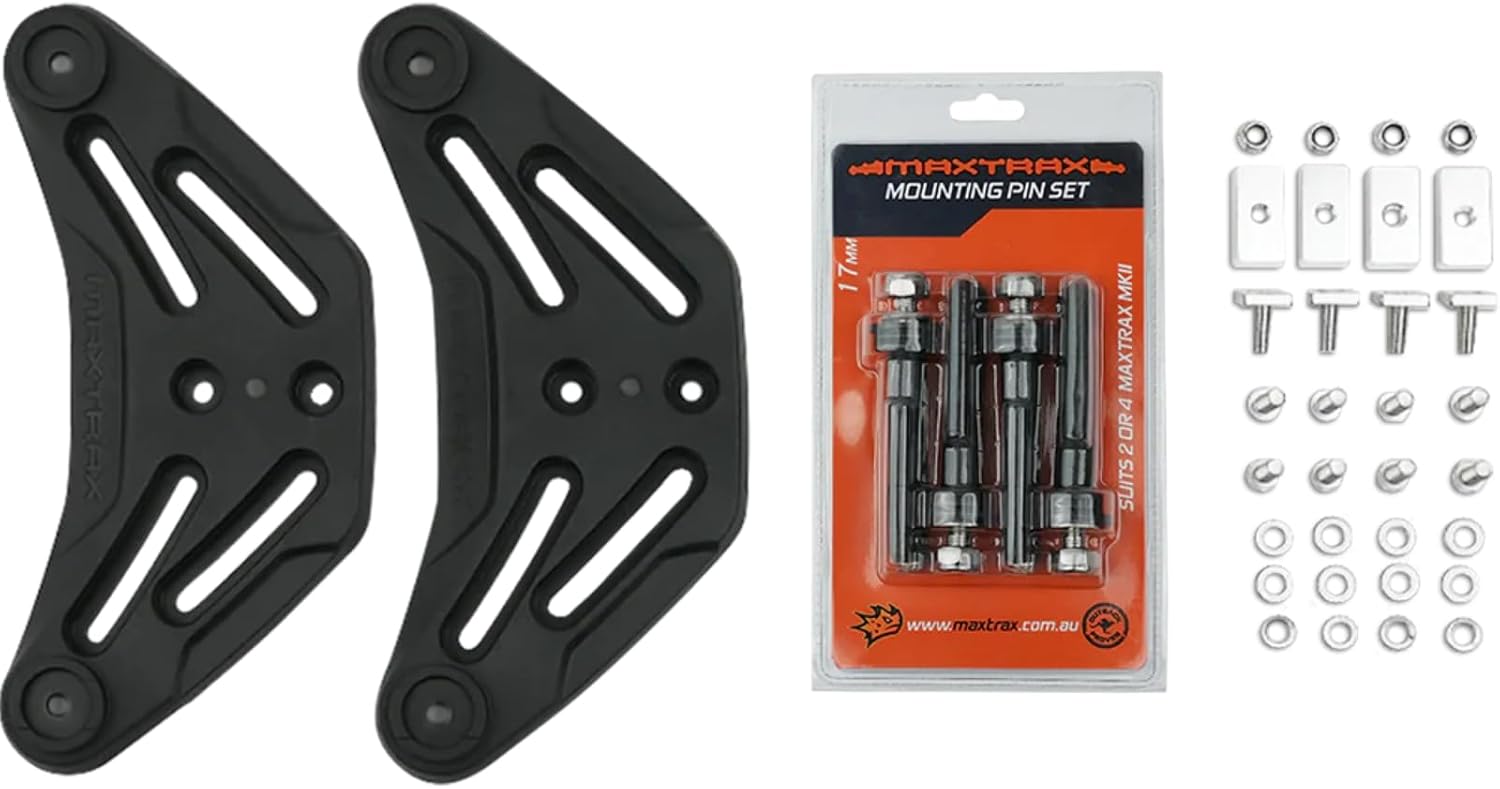
MAXTRAX flat mounts. Secure your boards to MOLLE panels in the bed. Clean, rattle-free.
Check Price on Amazon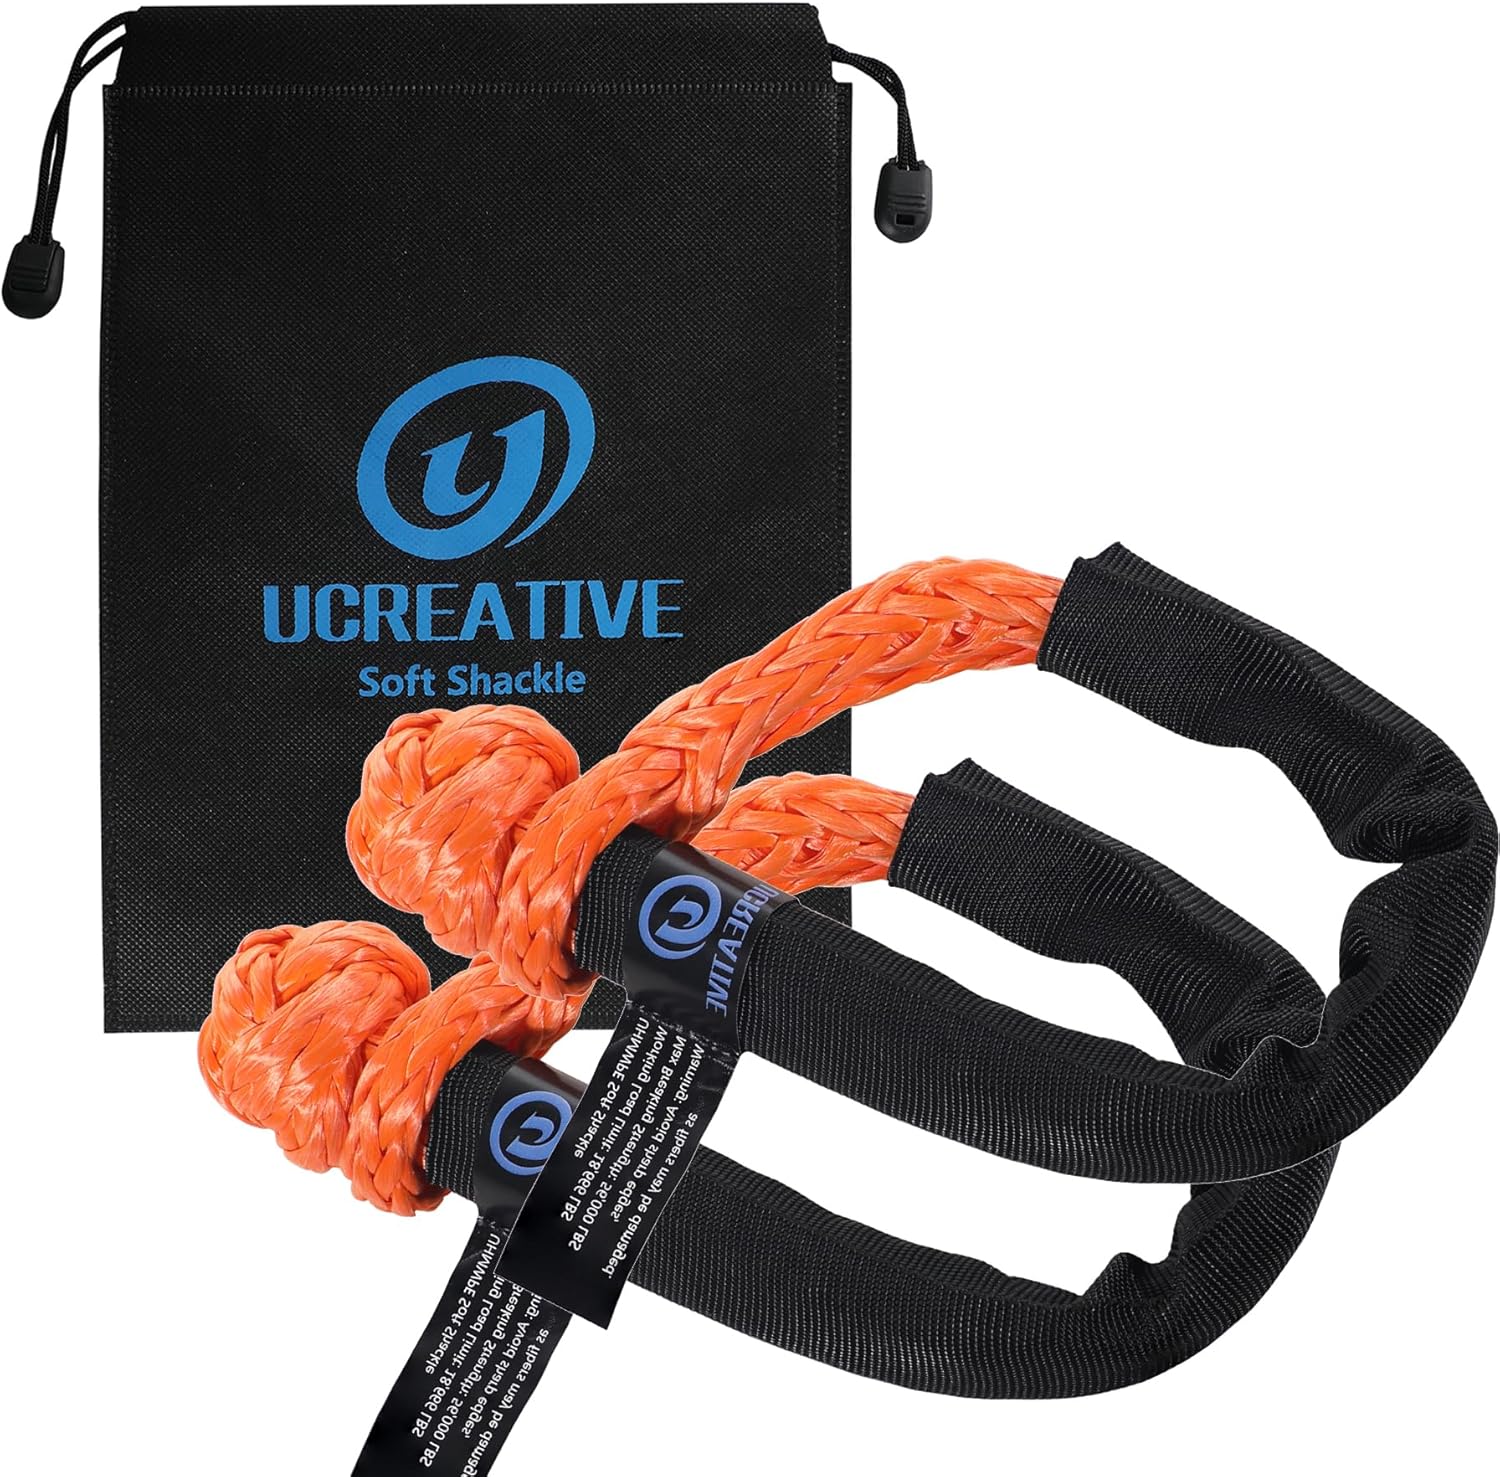
HMPE fiber, rated for recovery loads. Safer than metal D-rings — no shrapnel if they fail under load.
Check Price on Amazon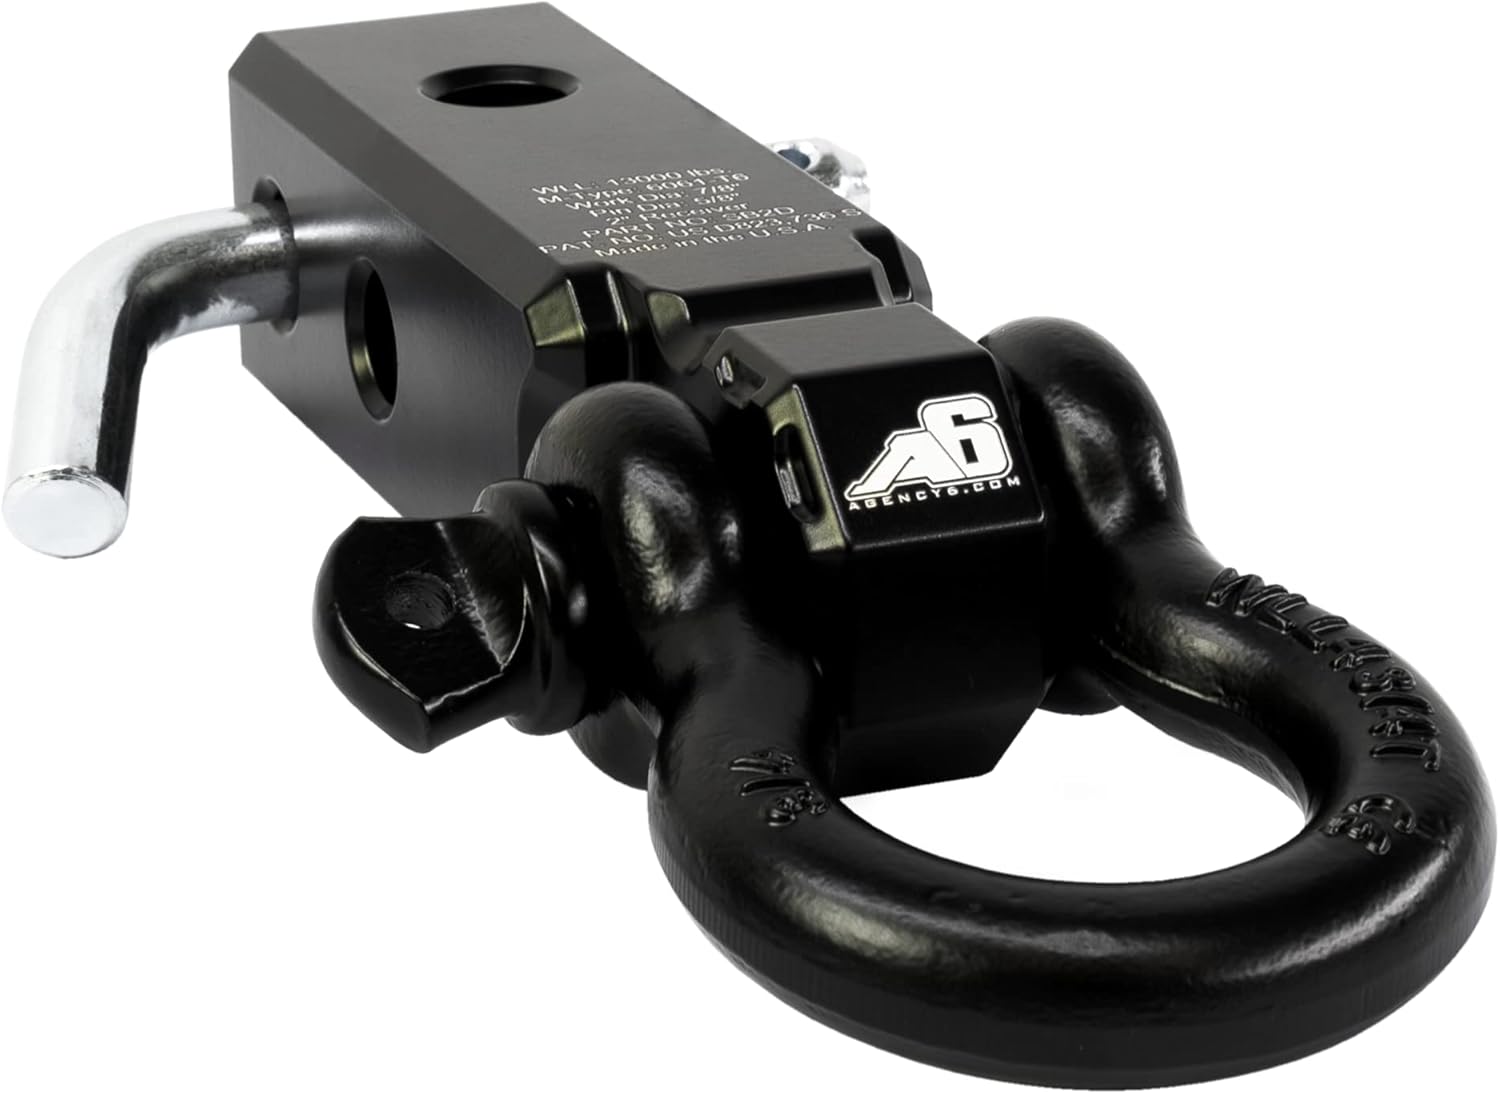
Replaces the tow ball in your hitch receiver. Proper recovery point — use this, not a ball.
Check Price on Amazon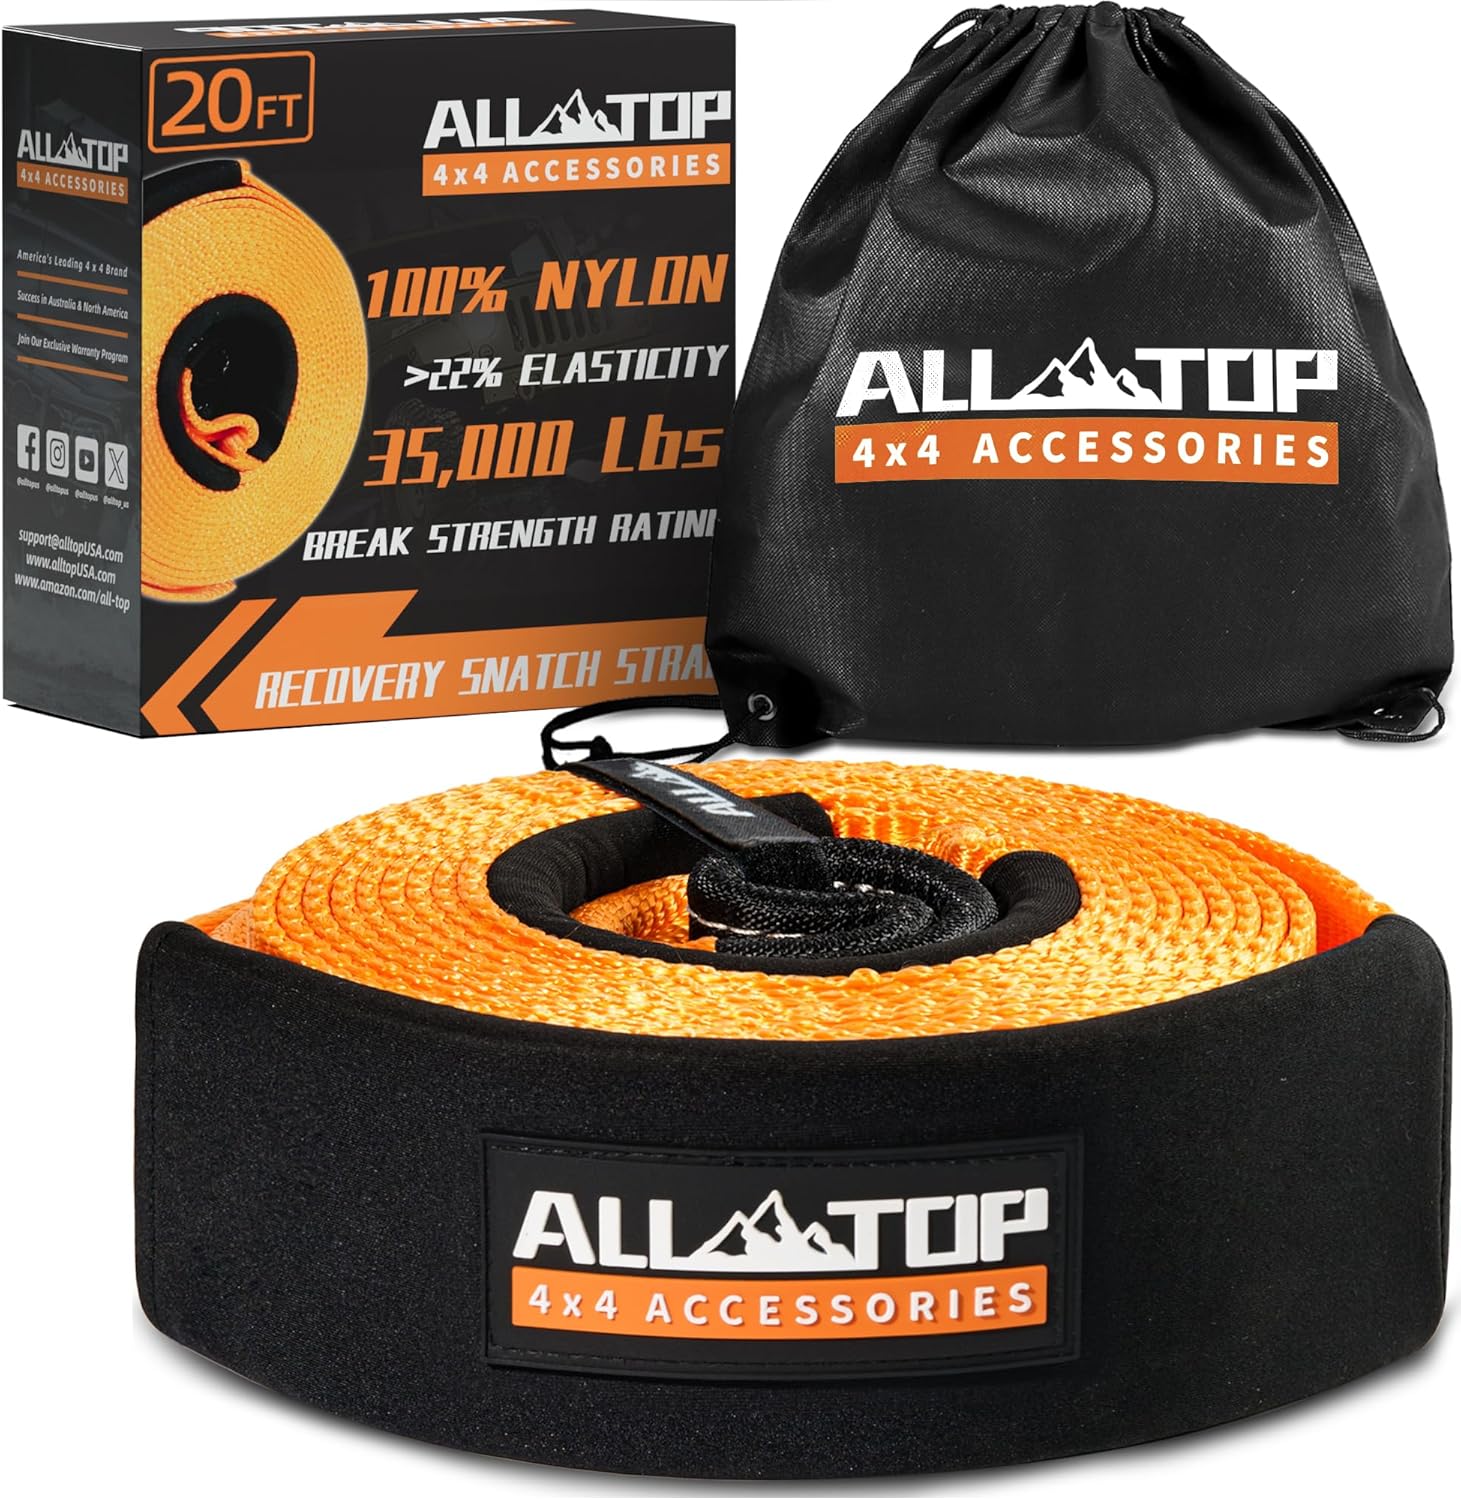
Non-stretch recovery strap for static pulls. Use when you have a solid anchor vehicle nearby.
Check Price on Amazon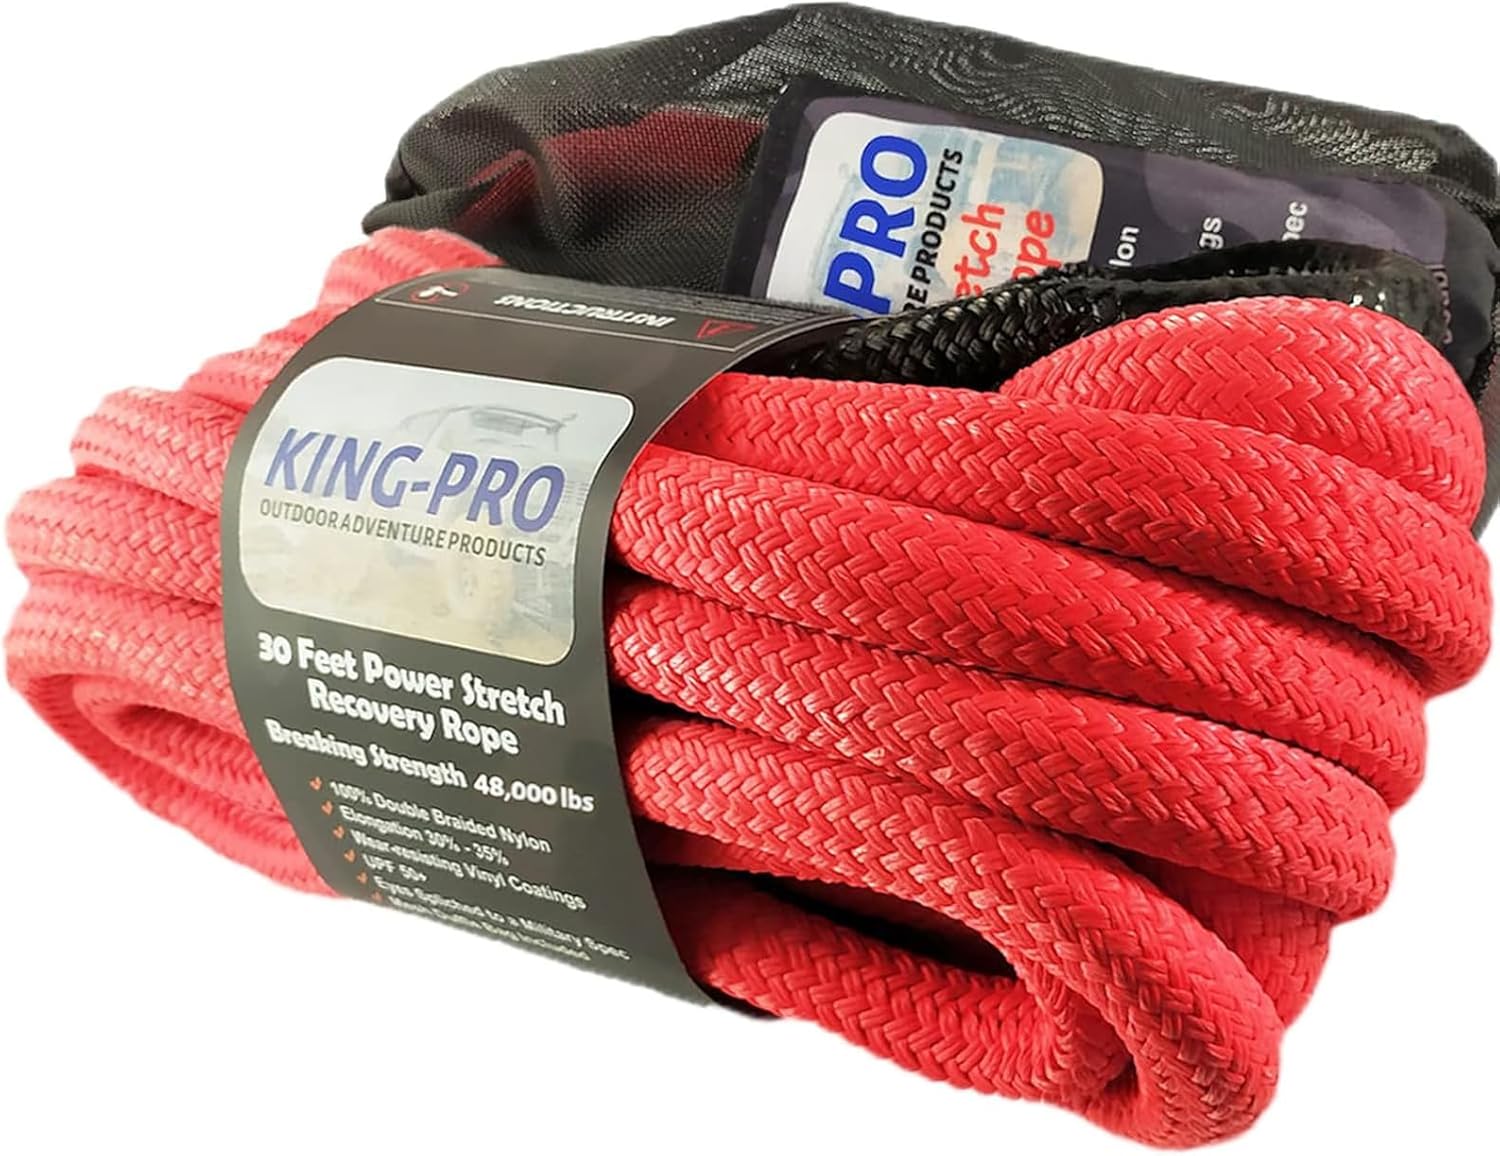
Kinetic energy rope — stretches under load and snaps you out. Gentler on vehicles than a static strap.
Check Price on Amazon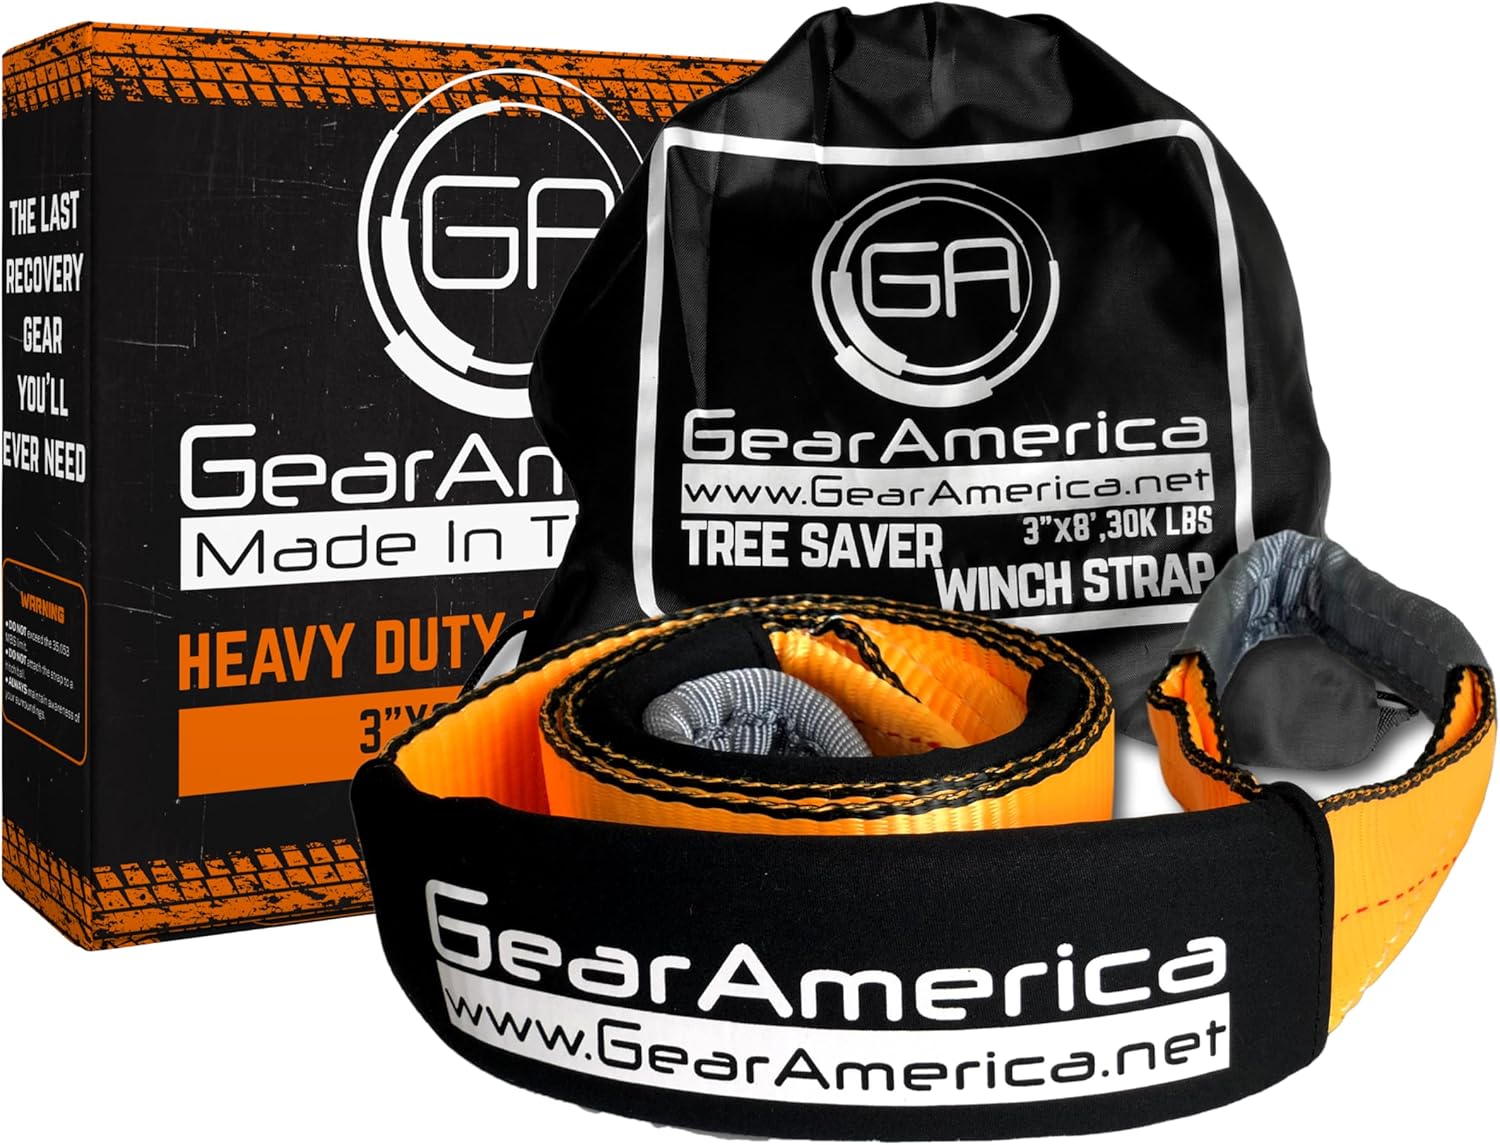
Wide nylon strap to wrap around trees without cutting into bark. Essential for winch anchoring.
Check Price on Amazon
Cinch a ratchet strap around the tire's circumference to squeeze a debeaded tire back onto the rim on the trail. Any ratchet strap will do — this Powertye one is Made in the USA.
Check Price on AmazonOff-road means sharp rocks. Carry the tools to get yourself out without cell service.


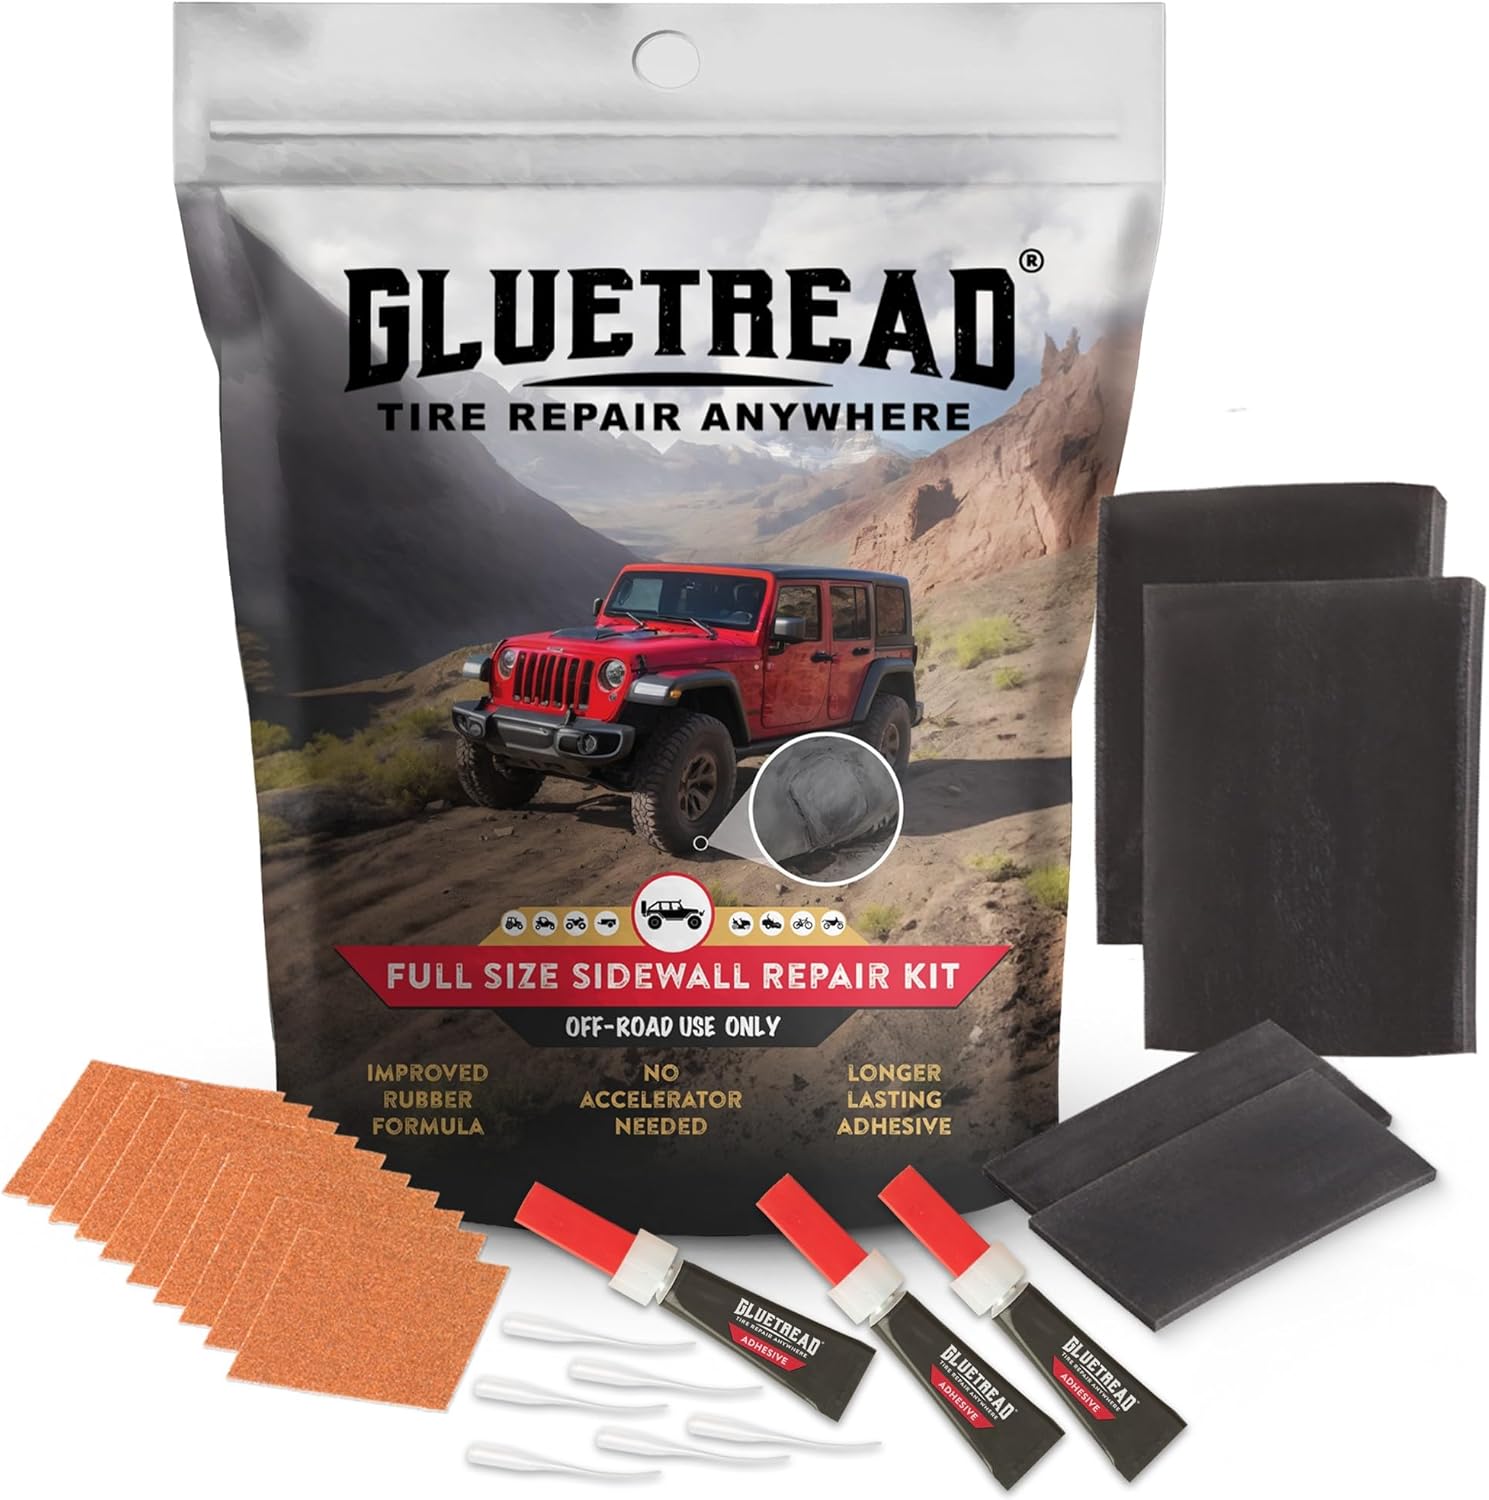
Internal sidewall patches for damage a plug can't fix. Requires dismounting the tire — a real trailside repair.
Check Price on Amazon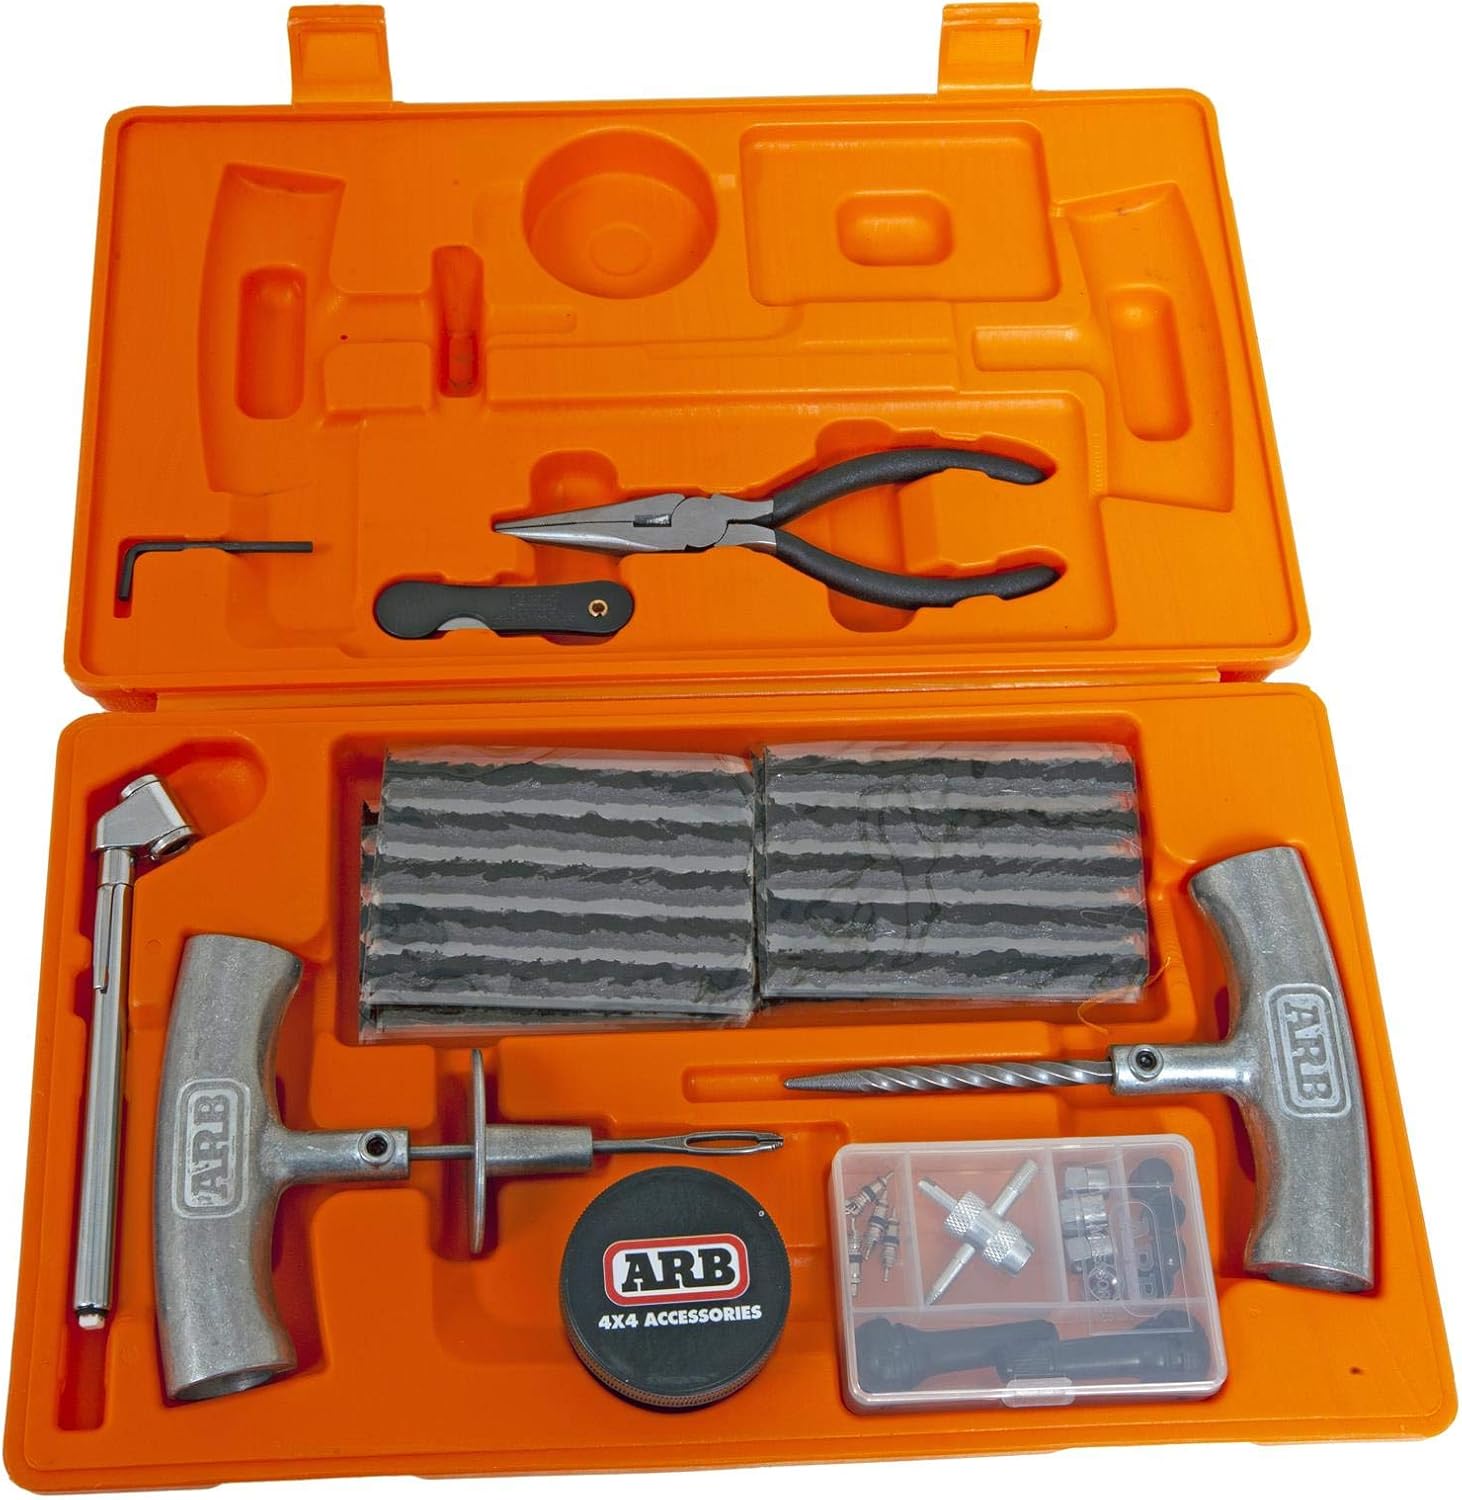
ARB Speedy Seal. Handles tread punctures without removing the tire. Quick, reliable, reusable tools.
Check Price on Amazon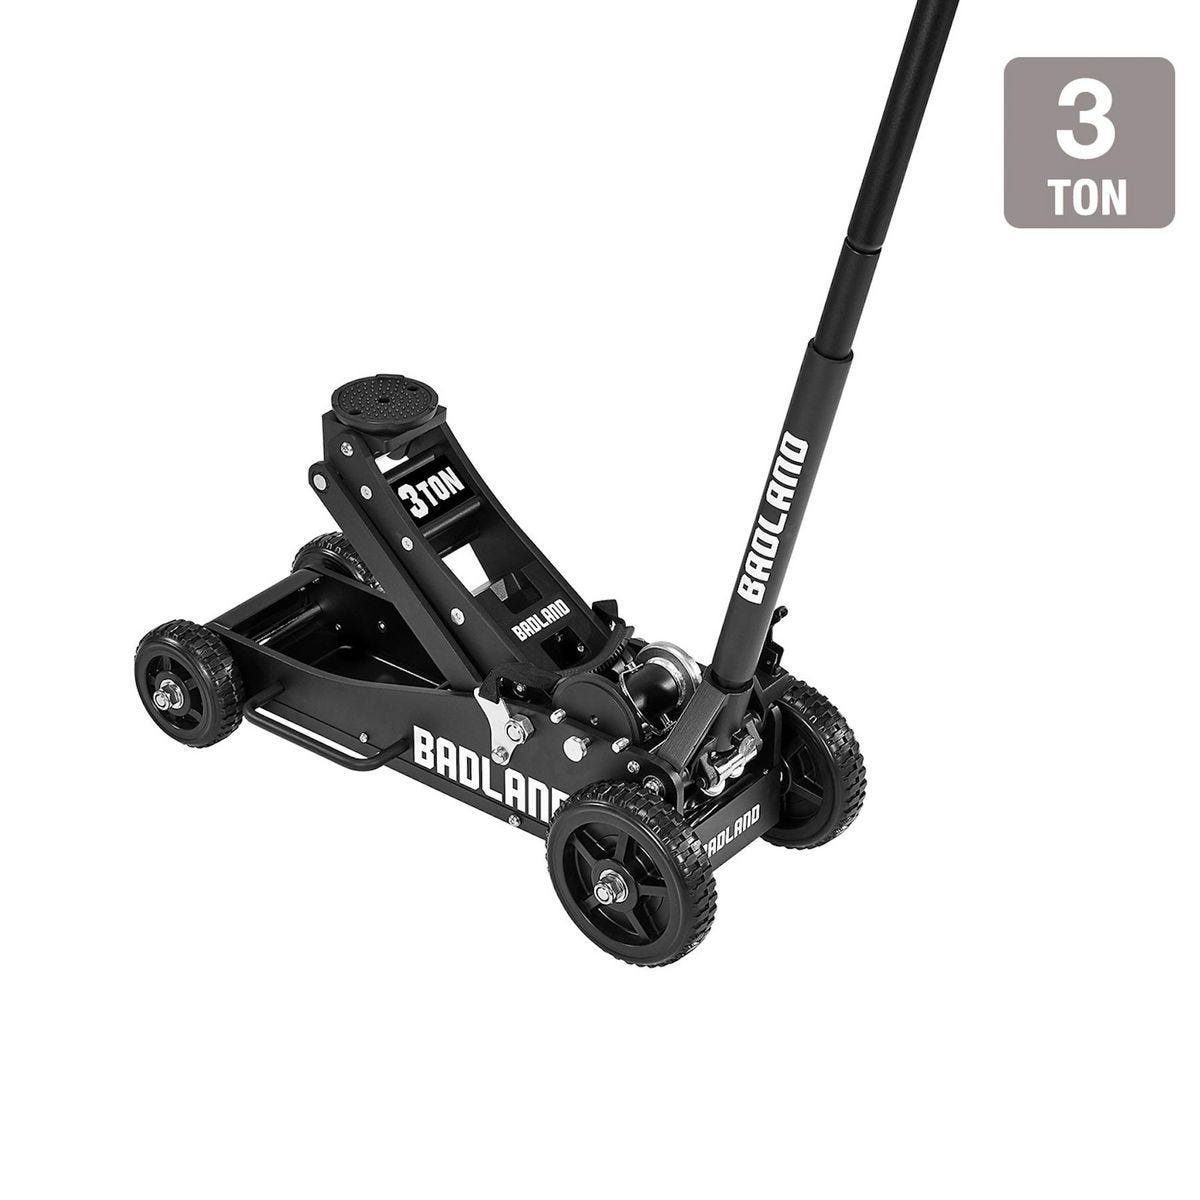
High-lift capable, 3-ton rating handles the CT's weight. Wide base for soft ground. Harbor Freight — good value.
Check Price at Harbor Freightⓘ Tip
Strongly consider carrying a full-size spare. No patch kit replaces the confidence of a spare tire on remote trails.
Snow, ice, and frozen mud. The CT handles it well with the right traction aids.
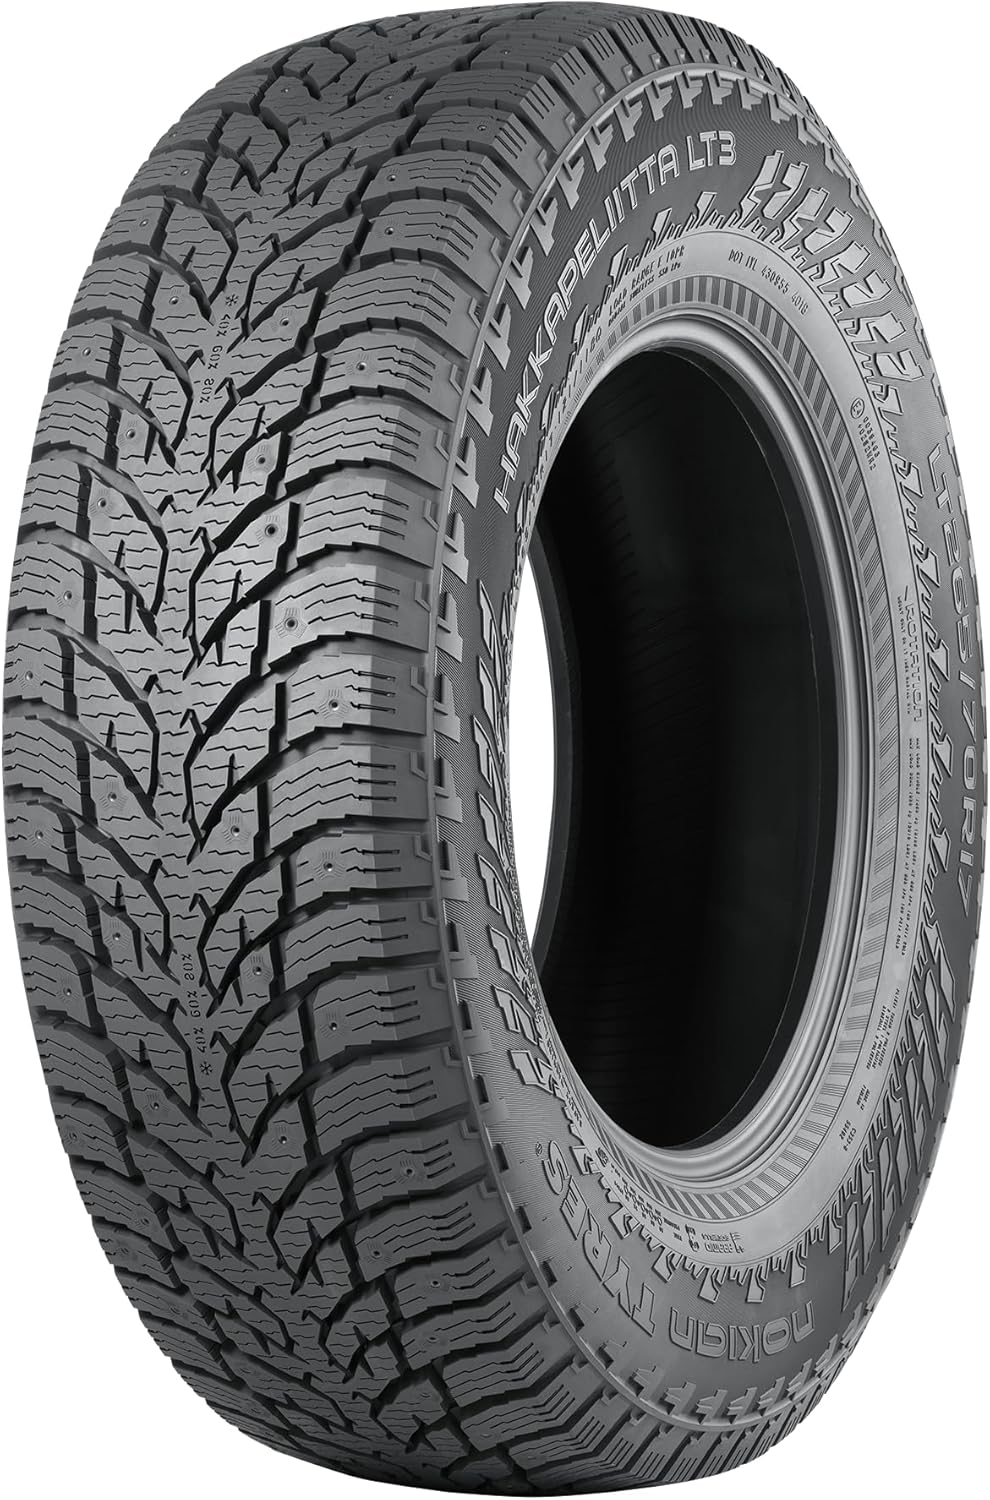
Dedicated winter tires make the biggest difference in snow and ice traction. Swap them on for the season — worth every dollar.
Check Price on Amazon
Textile traction device. Slides over tires in seconds — no jacking, no chains wrapping. Legal where chains are required. Correct size for CT.
Check Price on Amazon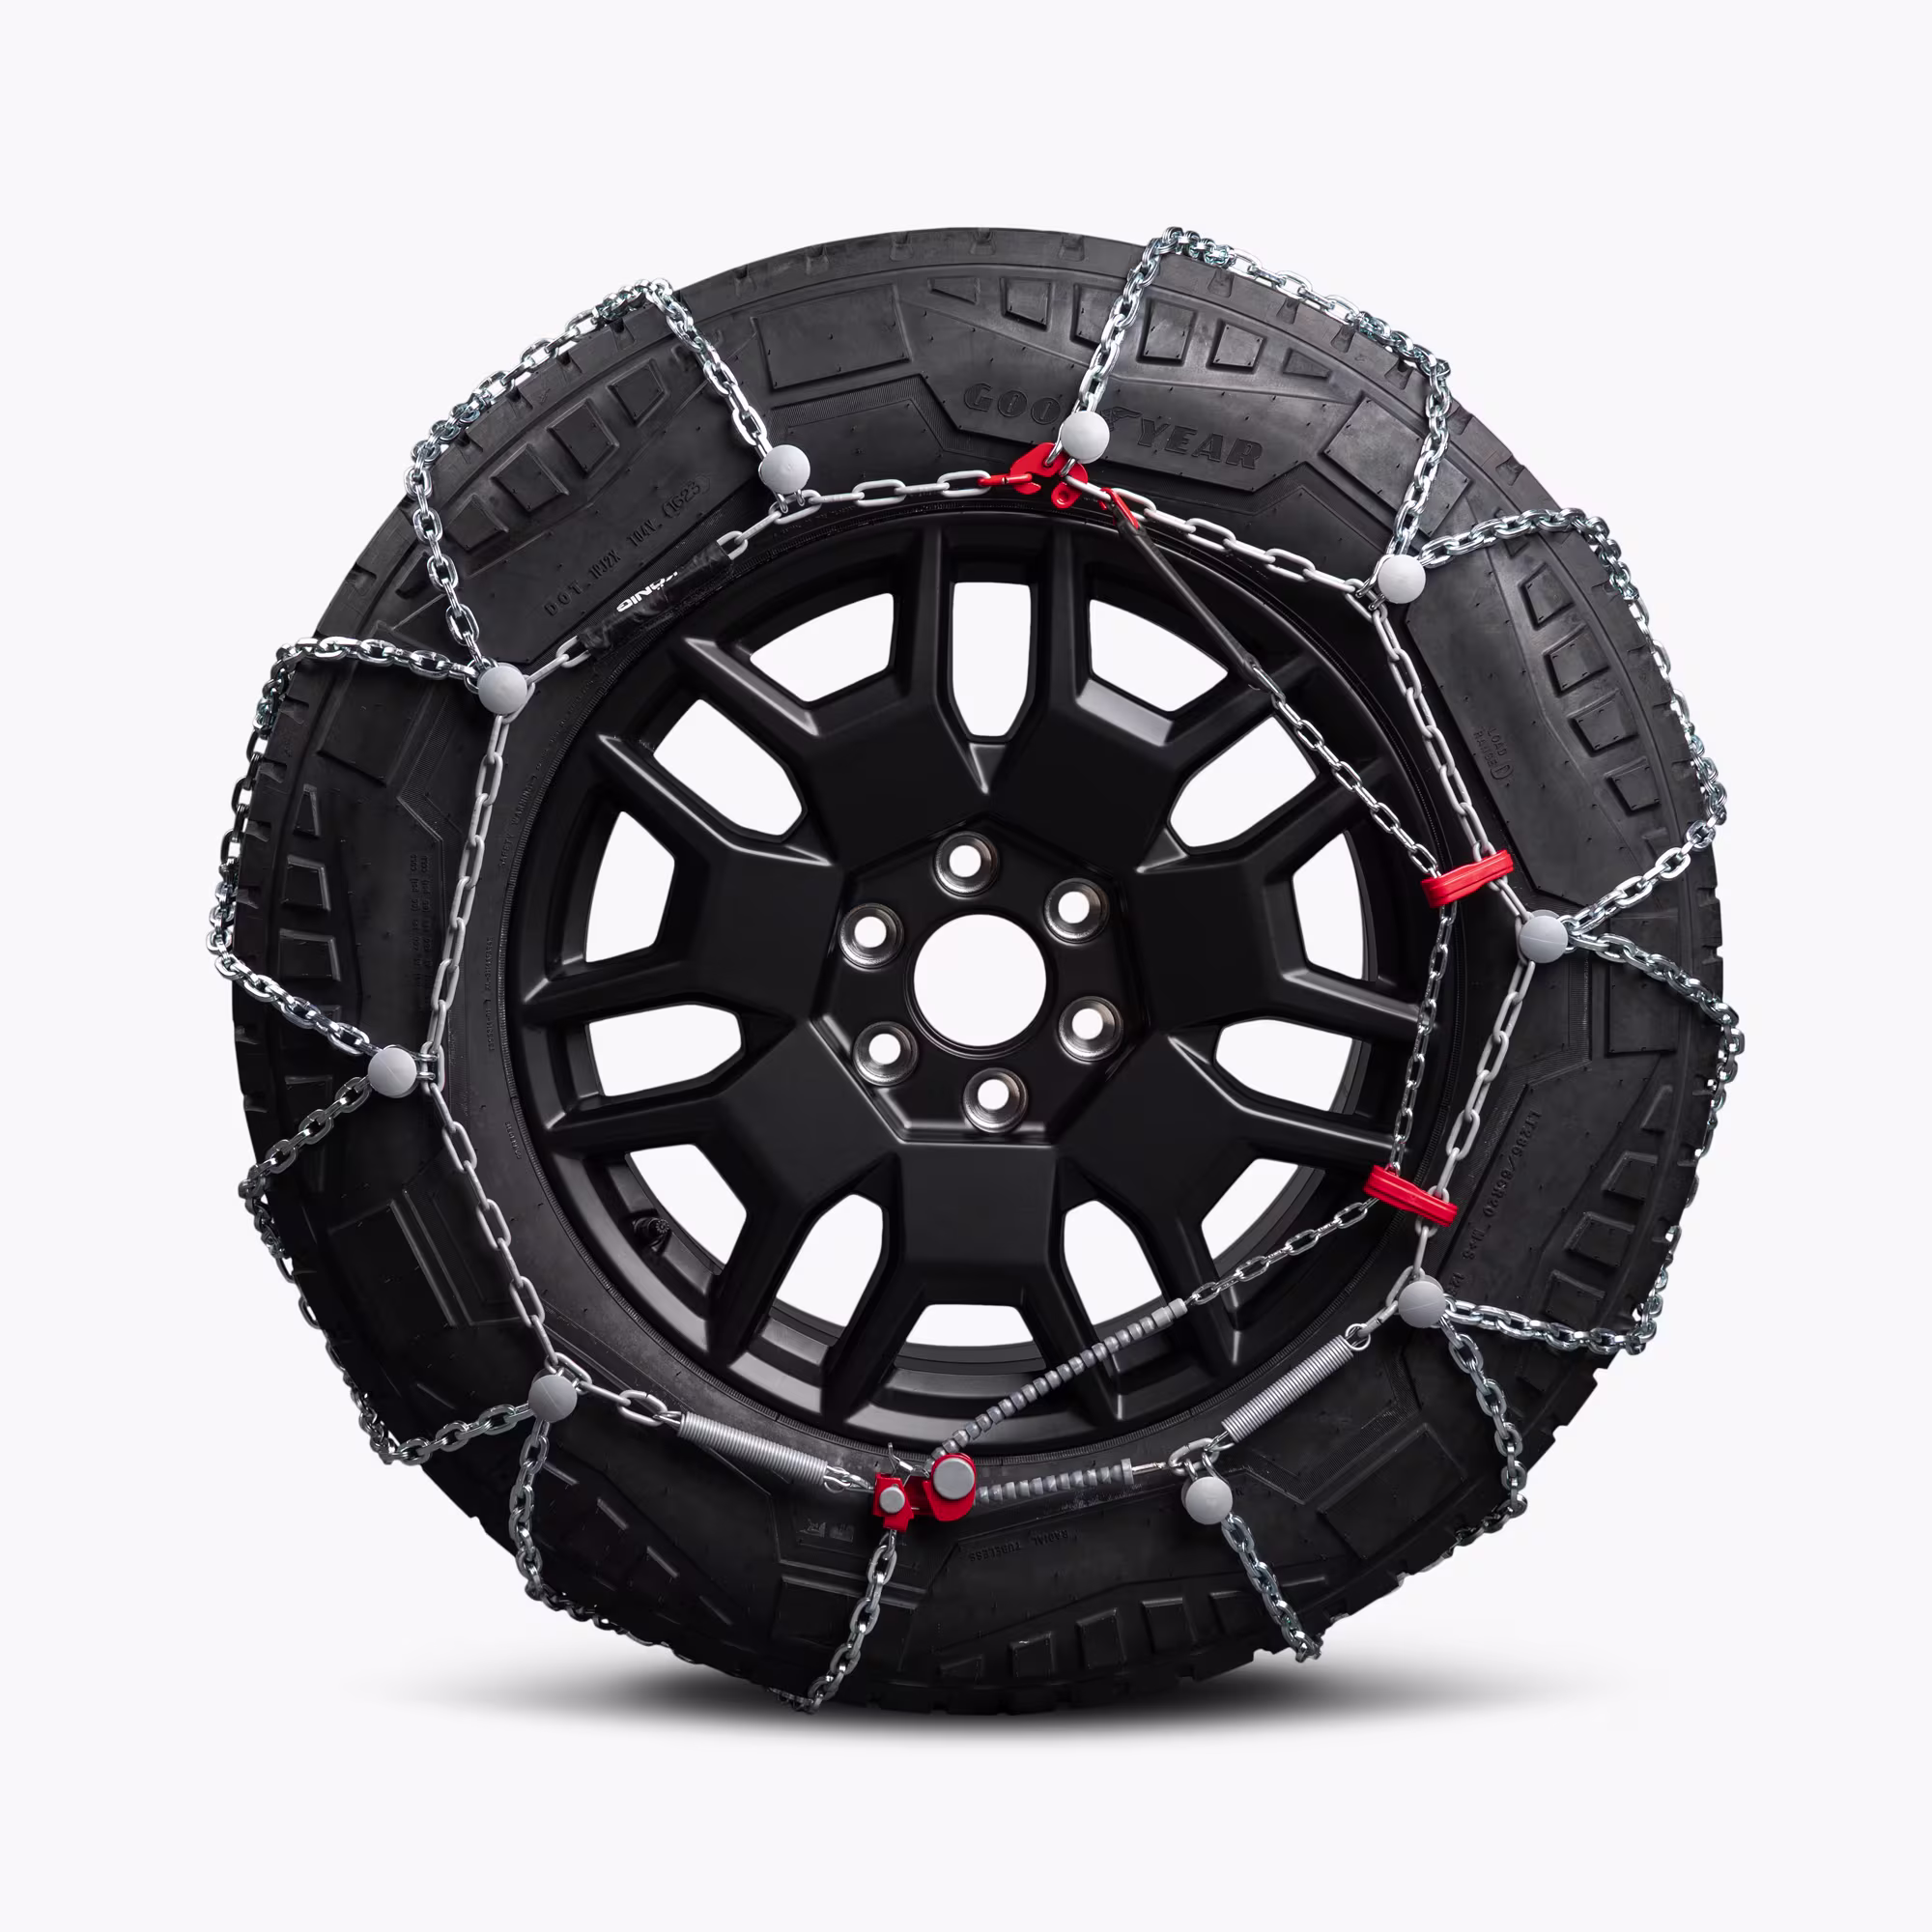
Tesla-designed for 18"/20" CT wheels. Guaranteed fitment, no clearance guesswork. The real deal for heavy snow.
Check Price at Tesla Shop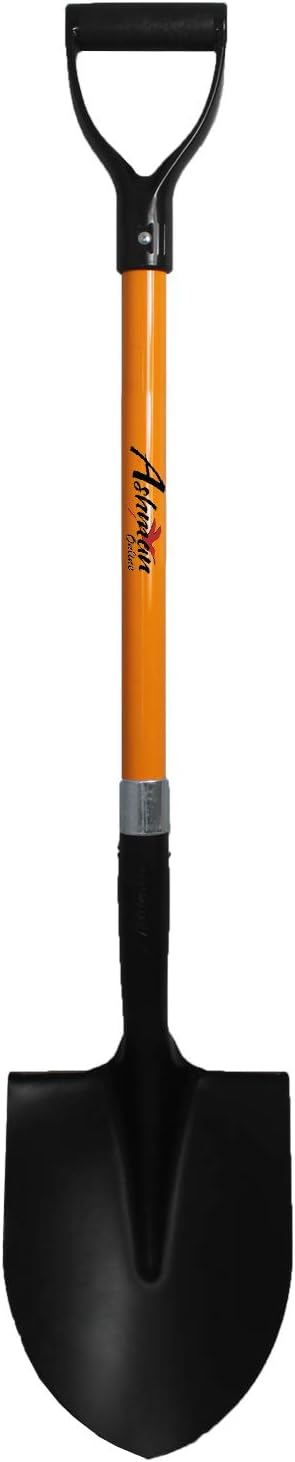
Heavy-duty flat blade that can actually break through ice. Not a snow shovel — this is for frozen ruts and packed ice.
Check Price on AmazonA full DIY winch setup powered by the CT's 240v 50A plug. Split to 4 power supplies.
ⓘ How This Works
The CT's 240v 50A plug splits to four HP Common Slot power supplies that convert AC to 12v DC for the winch motor. Wire all pin 34s together with signal wire. Jump pins 33 & 36 with a low-ohm resistor. DC side is up to you. Full wiring guide →


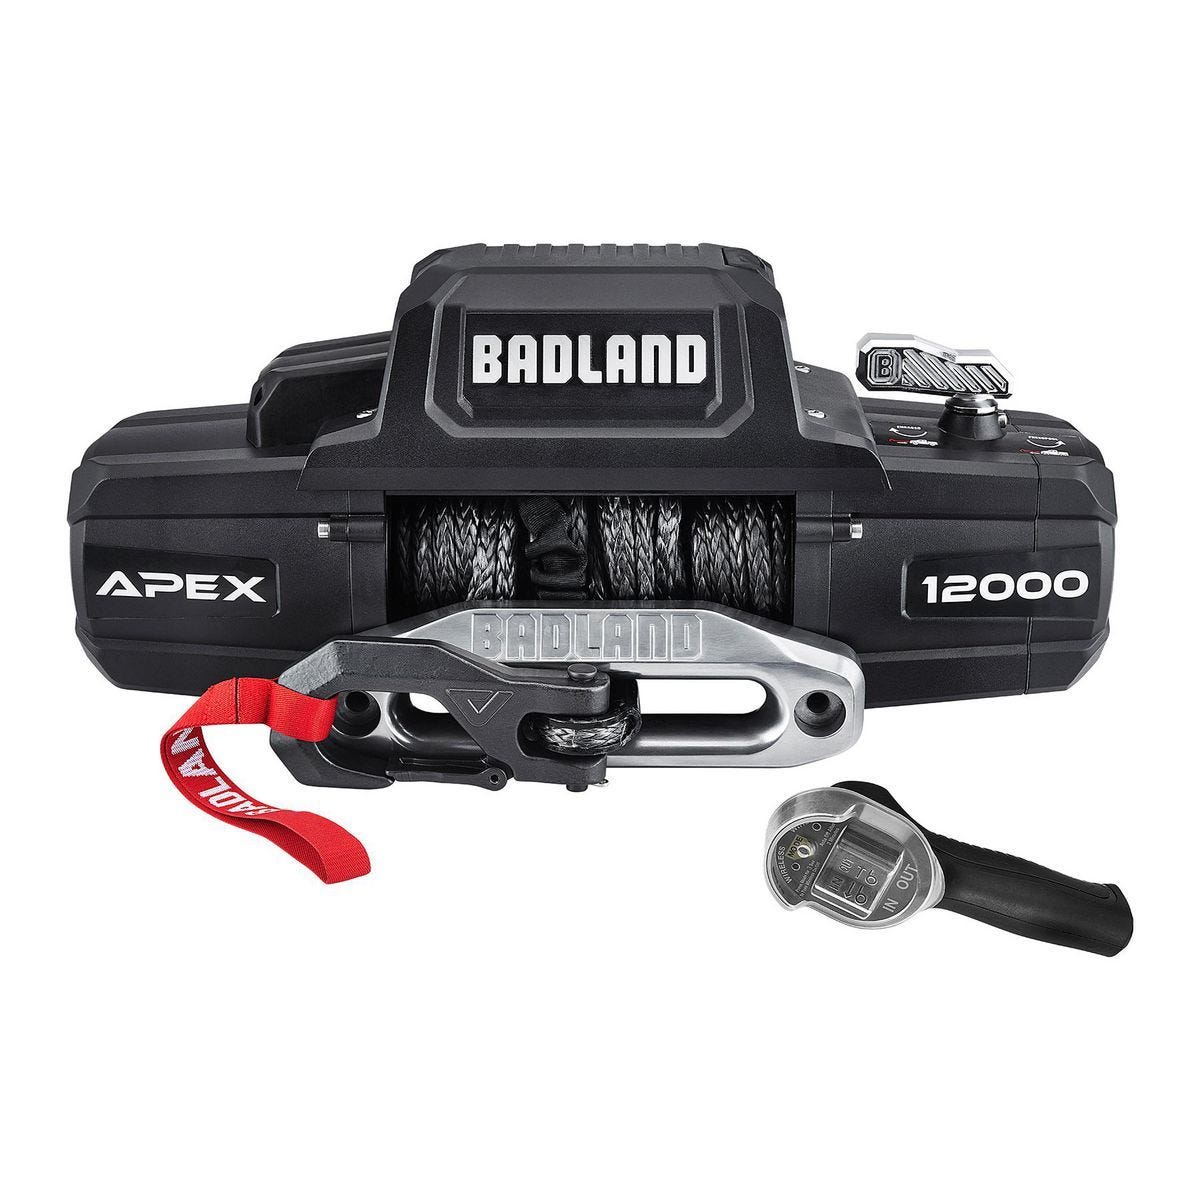
Badland 12k with synthetic rope and wireless remote. Proven workhorse at a fraction of brand-name pricing.

Slides into a standard 2" receiver. Rear mounting only. Removable when not in use.
Check Price at Harbor Freight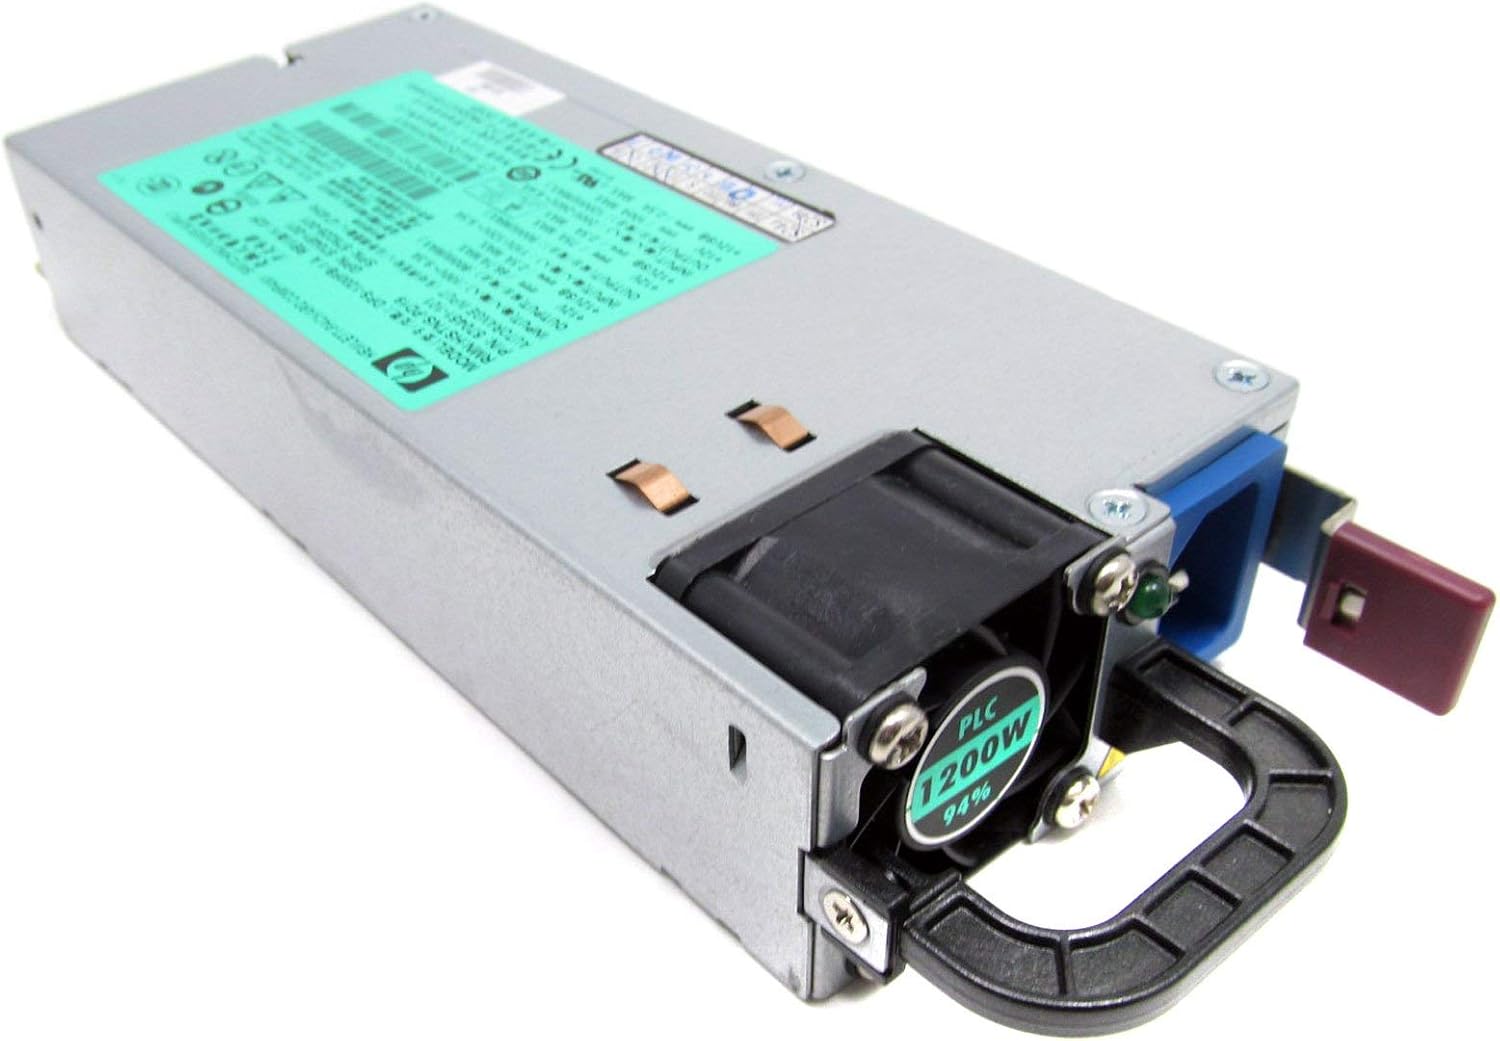
Need: 4x
240v AC → 12v DC converters. Four units wired in parallel off the CT's 240v 50A plug to deliver enough current for the winch motor.
Need: 4x
Power cable to connect each PSU to the 240v distribution.
Check Price on Amazon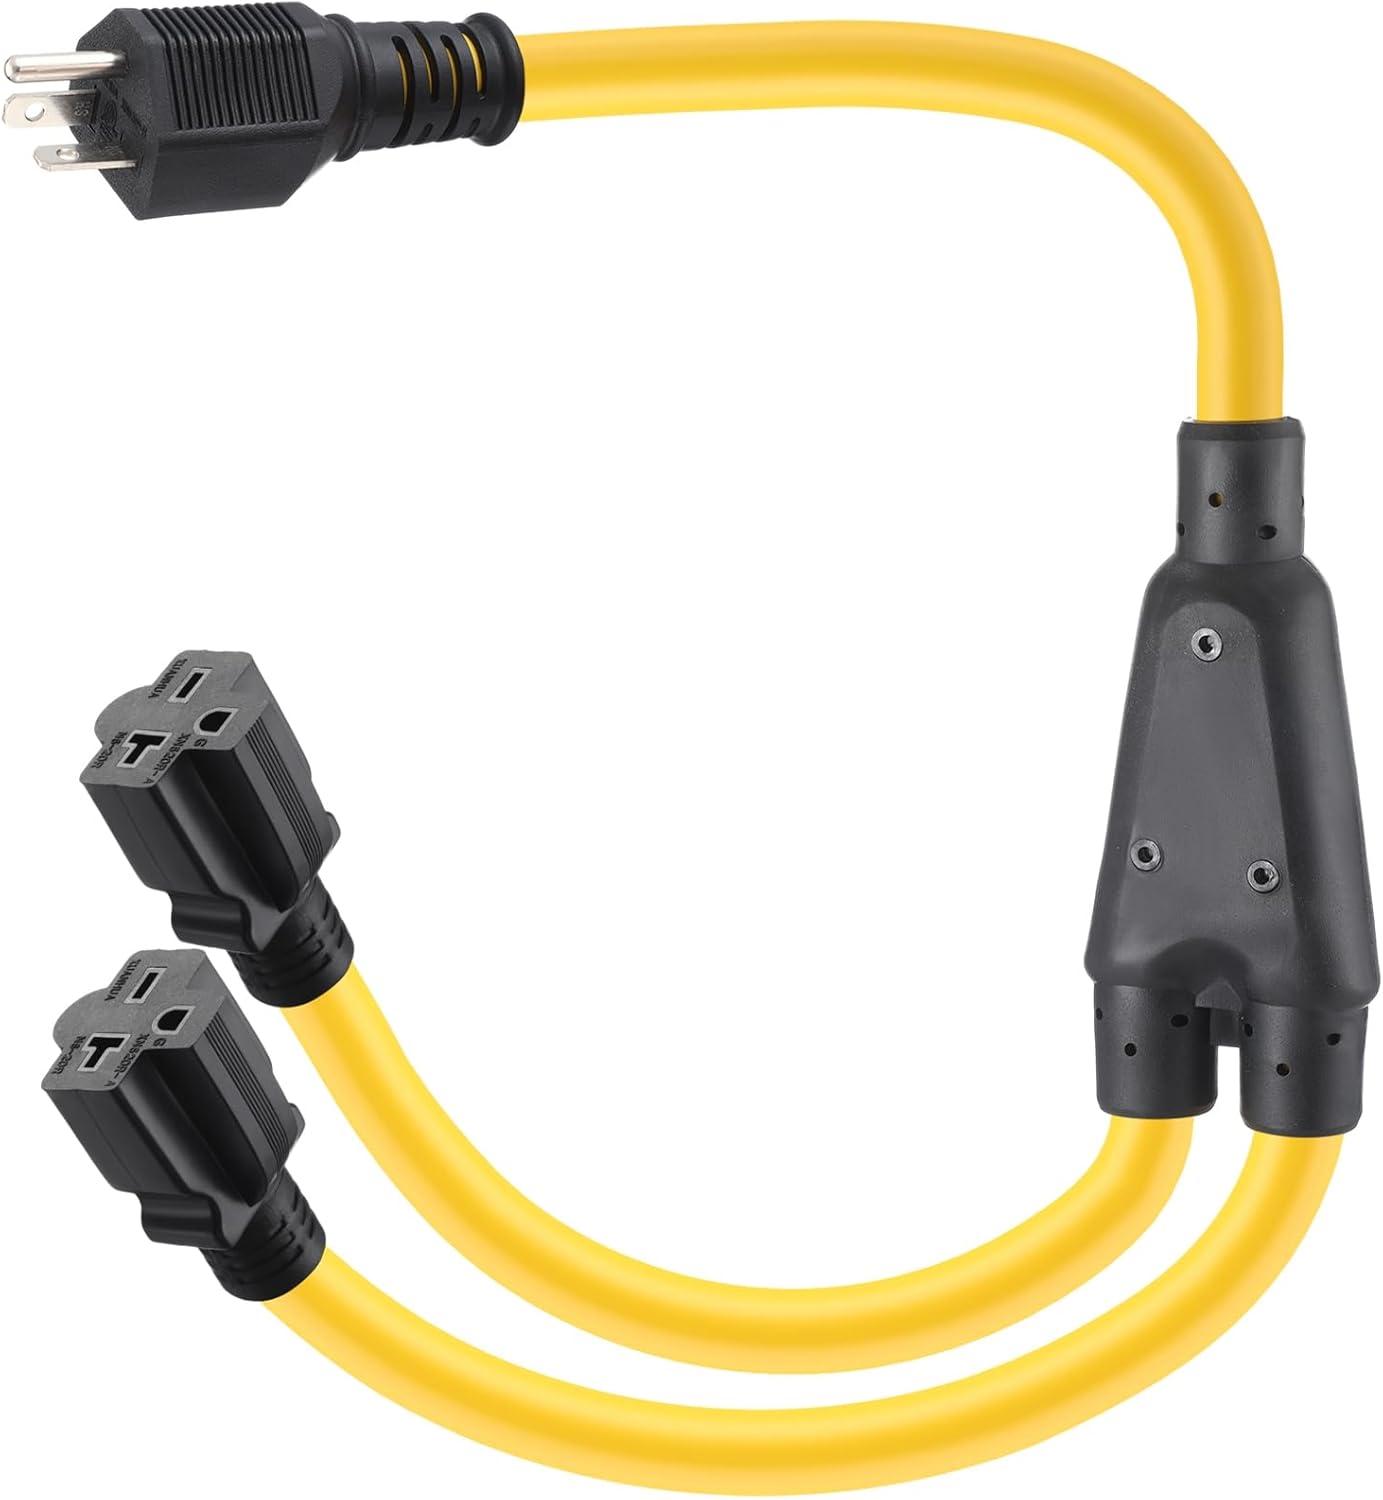
Need: 2x
Second cable type for the power distribution chain.
Check Price on Amazon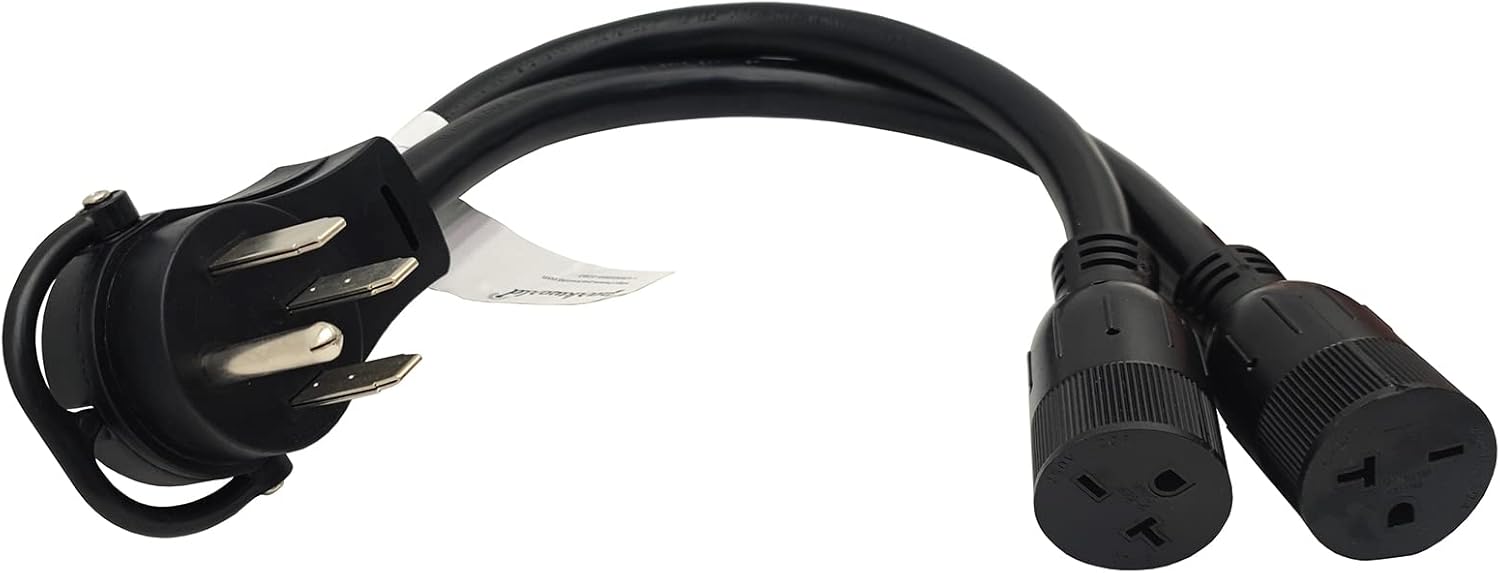
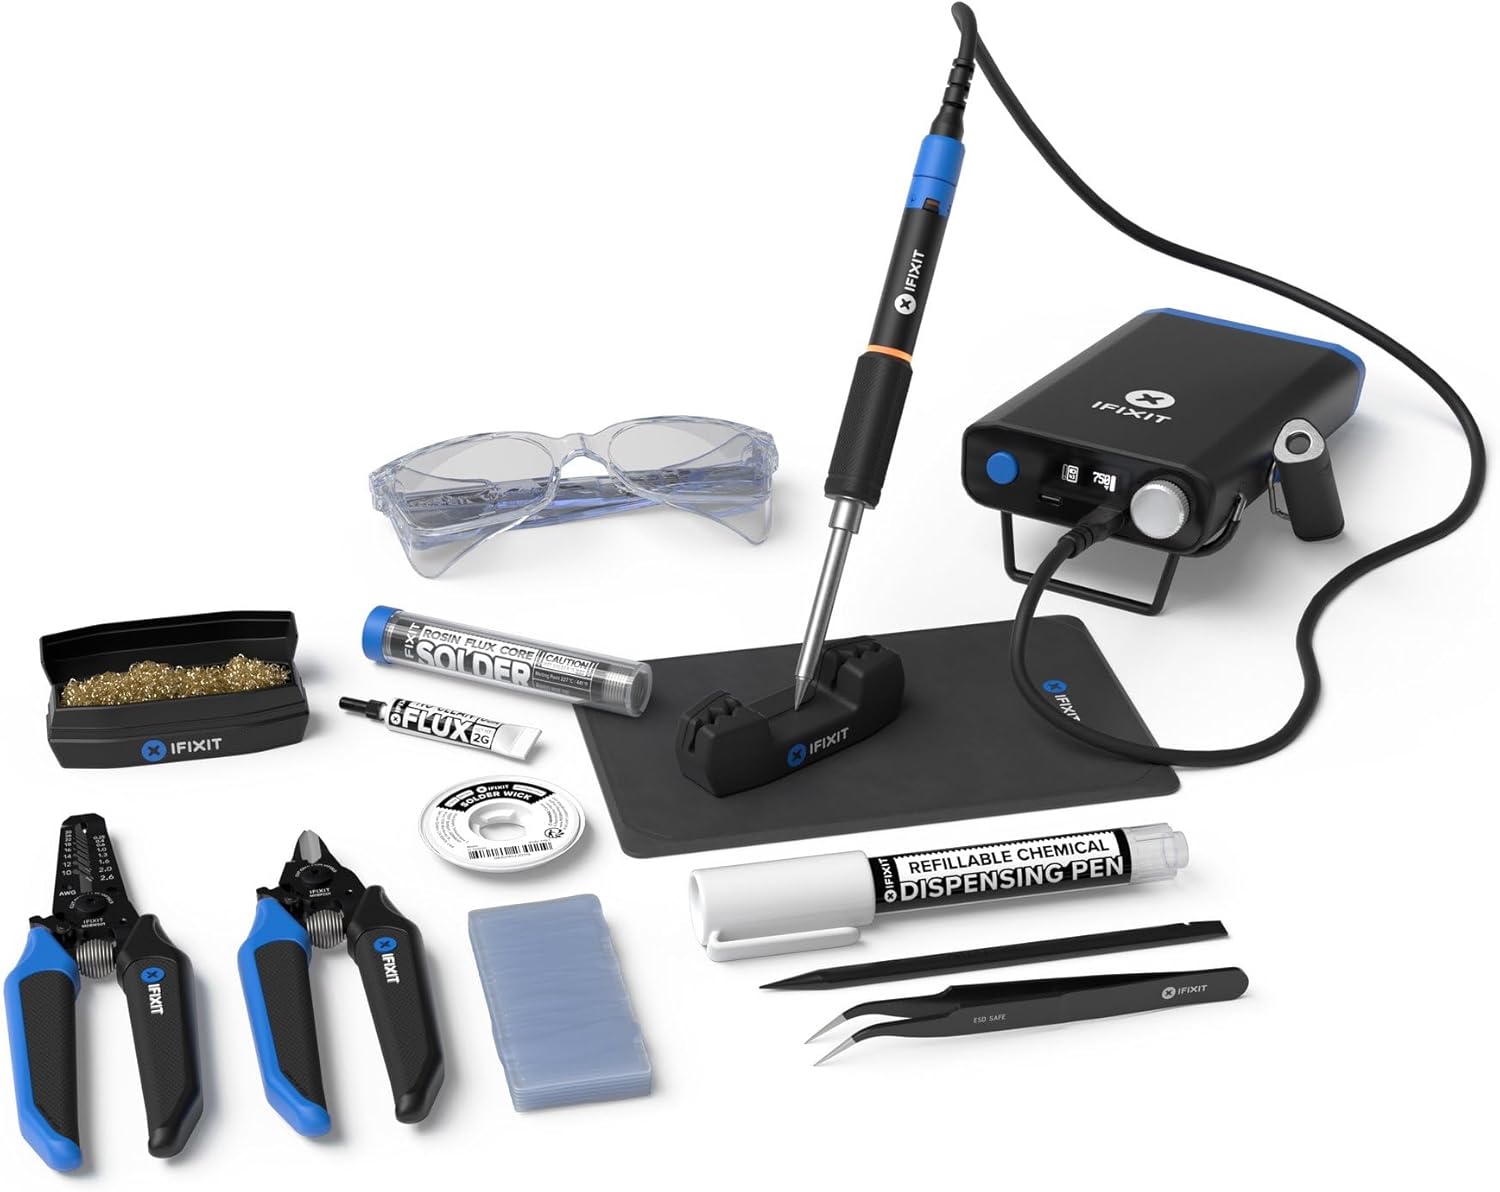
For wiring the DC side and signal connections. Full kit with iron, solder, and accessories.
Check Price on Amazon
Thin gauge wire to connect all pin 34s together across the power supplies.
Check Price on Amazon
Low-ohm resistors to jump pins 33 & 36 on each PSU. Enables the power supplies to run without a motherboard.
Check Price on AmazonInternet anywhere. Mount options for interior glass or exterior roof, plus the power cable that actually works.
ⓘ Glass Compatibility
Starlink Mini works through 2nd gen silver glass only. 1st gen silver glass and black glass block the signal. Full roof glass guide →
ⓘ Don't Have Starlink Yet?
If you're planning to get Starlink — for the truck, the house, wherever — use my referral link. Sign up for Starlink →

Mounts Starlink Mini underneath the roof glass. Clean install, no exterior hardware. Requires 2nd gen silver glass.
Check Price on Amazon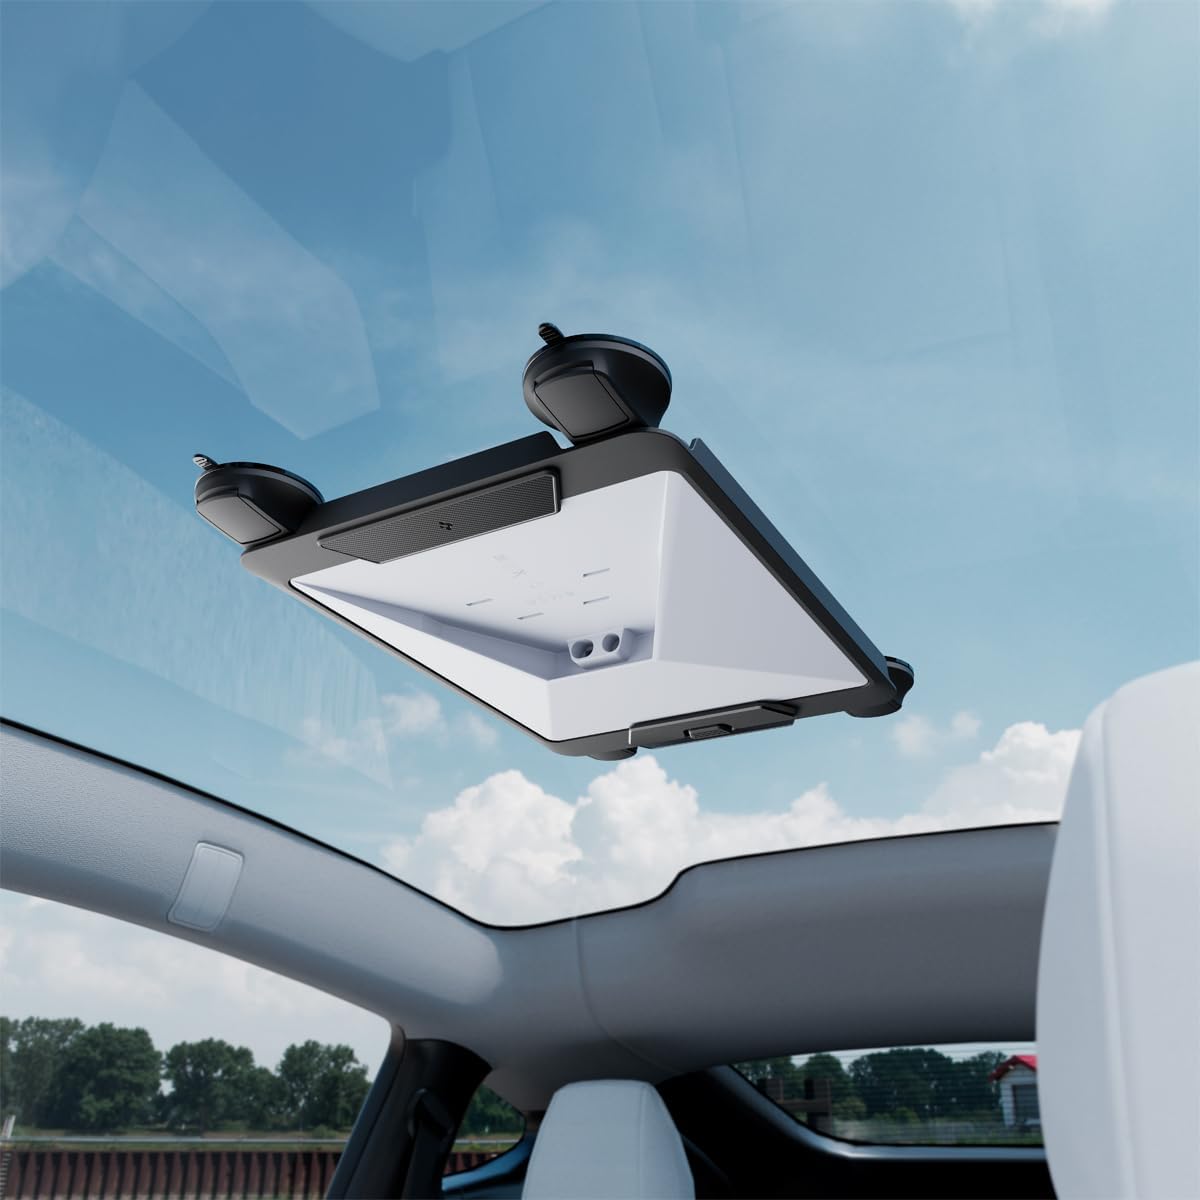
Alternative interior mounting solution. Same concept, different bracket design.
Check Price on Amazon
Roof-mounted exterior bracket. Works with any glass type since it's above the roof. Best signal performance.
Check Price on Amazon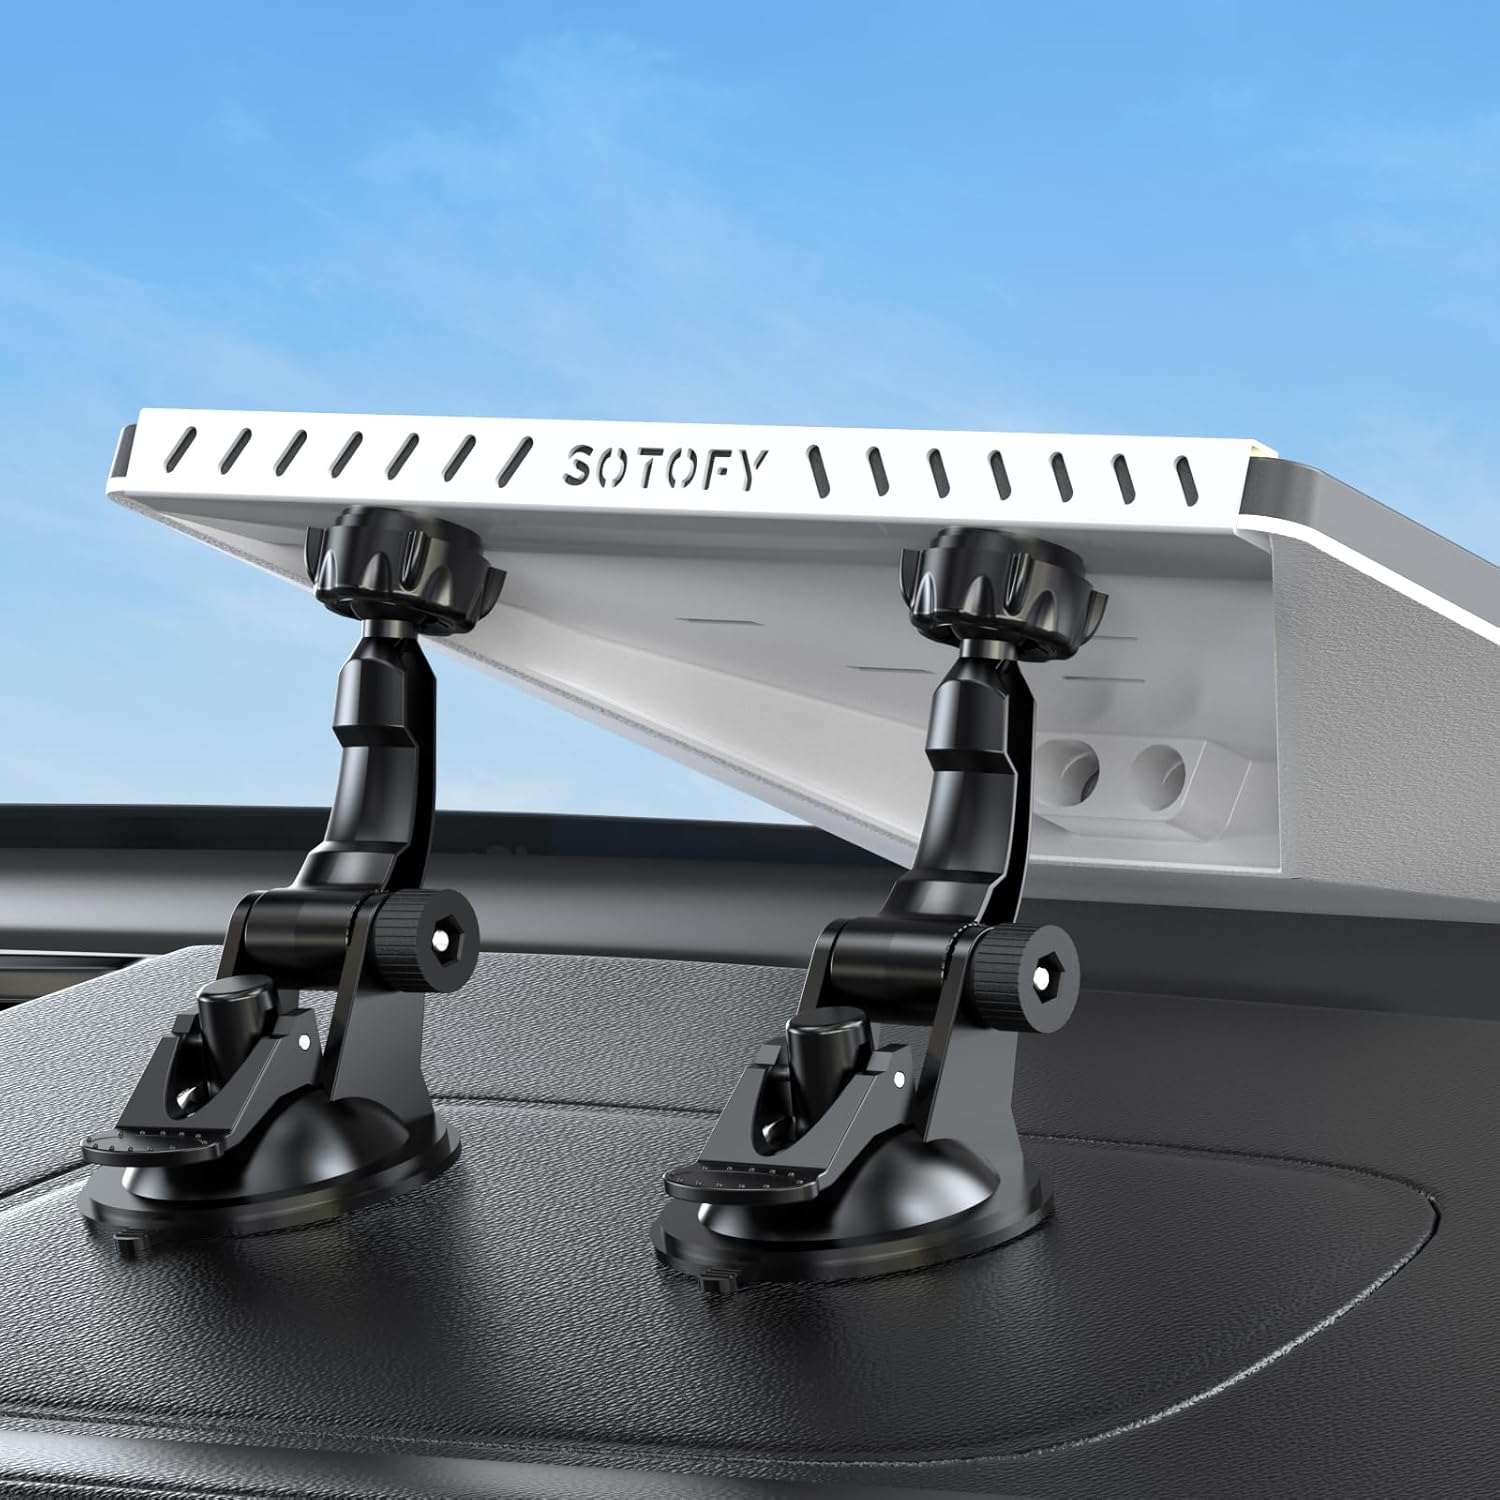
Suction cup mount that attaches to the back of the screen. Places the Starlink Mini against the windshield — works with any glass type. See it in action →
Check Price on Amazon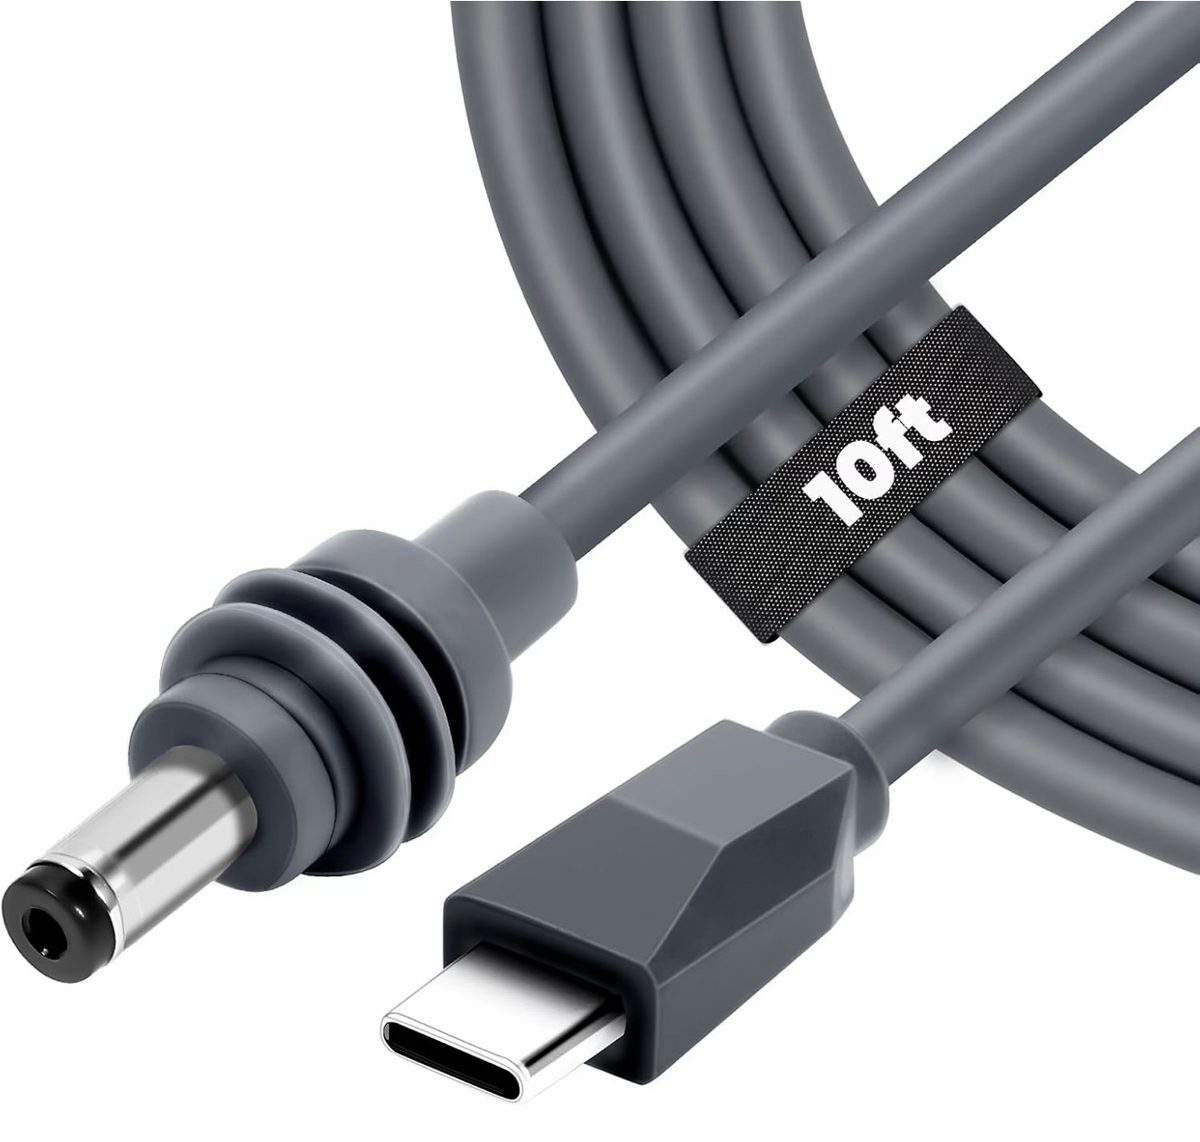
Powers the Starlink Mini from the truck's USB-C port. Starlink Mini negotiates a 60W PD profile — generic 65W or 100W cables won't deliver power. This one is matched to 60W and works.
Heads up: if all 3 USB-C ports are in use at once, the truck drops each port to a 42W profile and the Mini won't power on. Leave at least one port free.
Cell service dies fast on the trail. GMRS radios keep your group connected.

5W GMRS radio. 5+ mile range in open terrain. USB-C charging. Waterproof. The go-to for off-road groups.
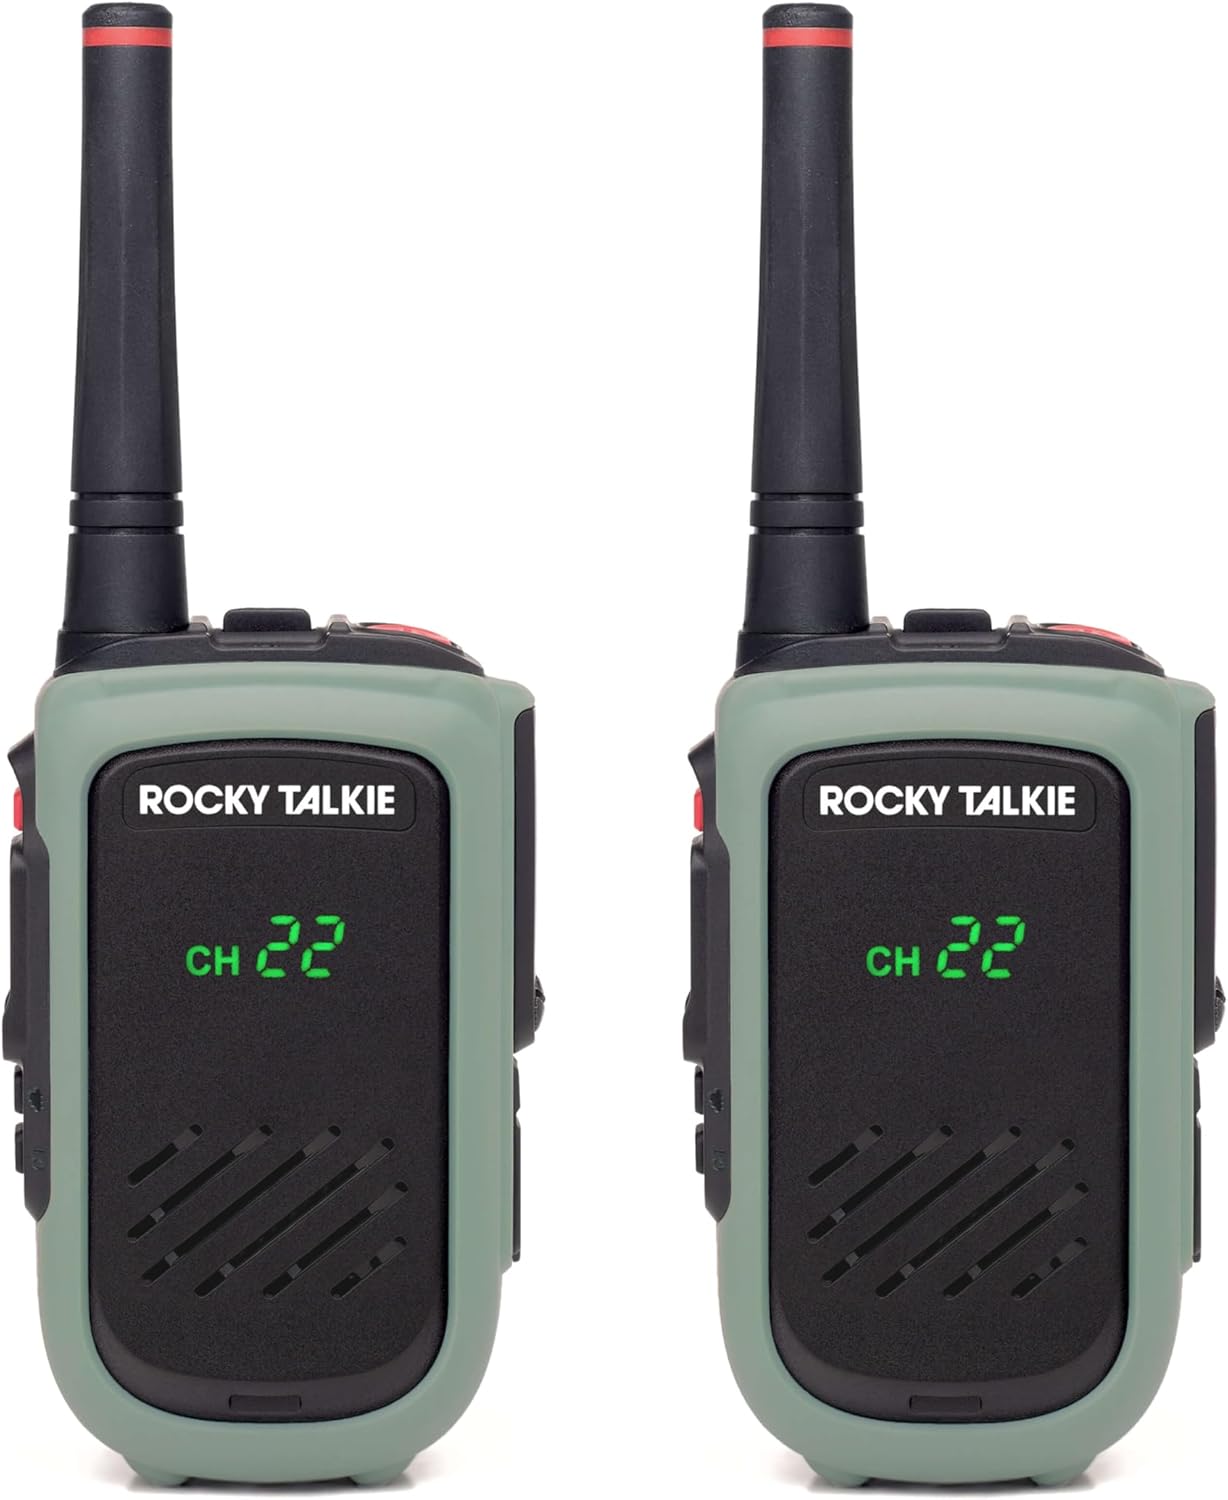
Compact 2W version. Shorter range but smaller form factor. Good for passengers or shorter trail runs.
Check Price on AmazonSafety gear, MOLLE organization, Cyberbeast-specific fixes, and maintenance items for trail days.
~$100
Get the Tesla OEM filter — not third party. I've tried multiple aftermarket HEPA filters and they all stop filtering out gas and diesel fumes after a few months. The Tesla unit is the only one that actually holds up. All-in-one HEPA + carbon combo. Replace every 2 years.
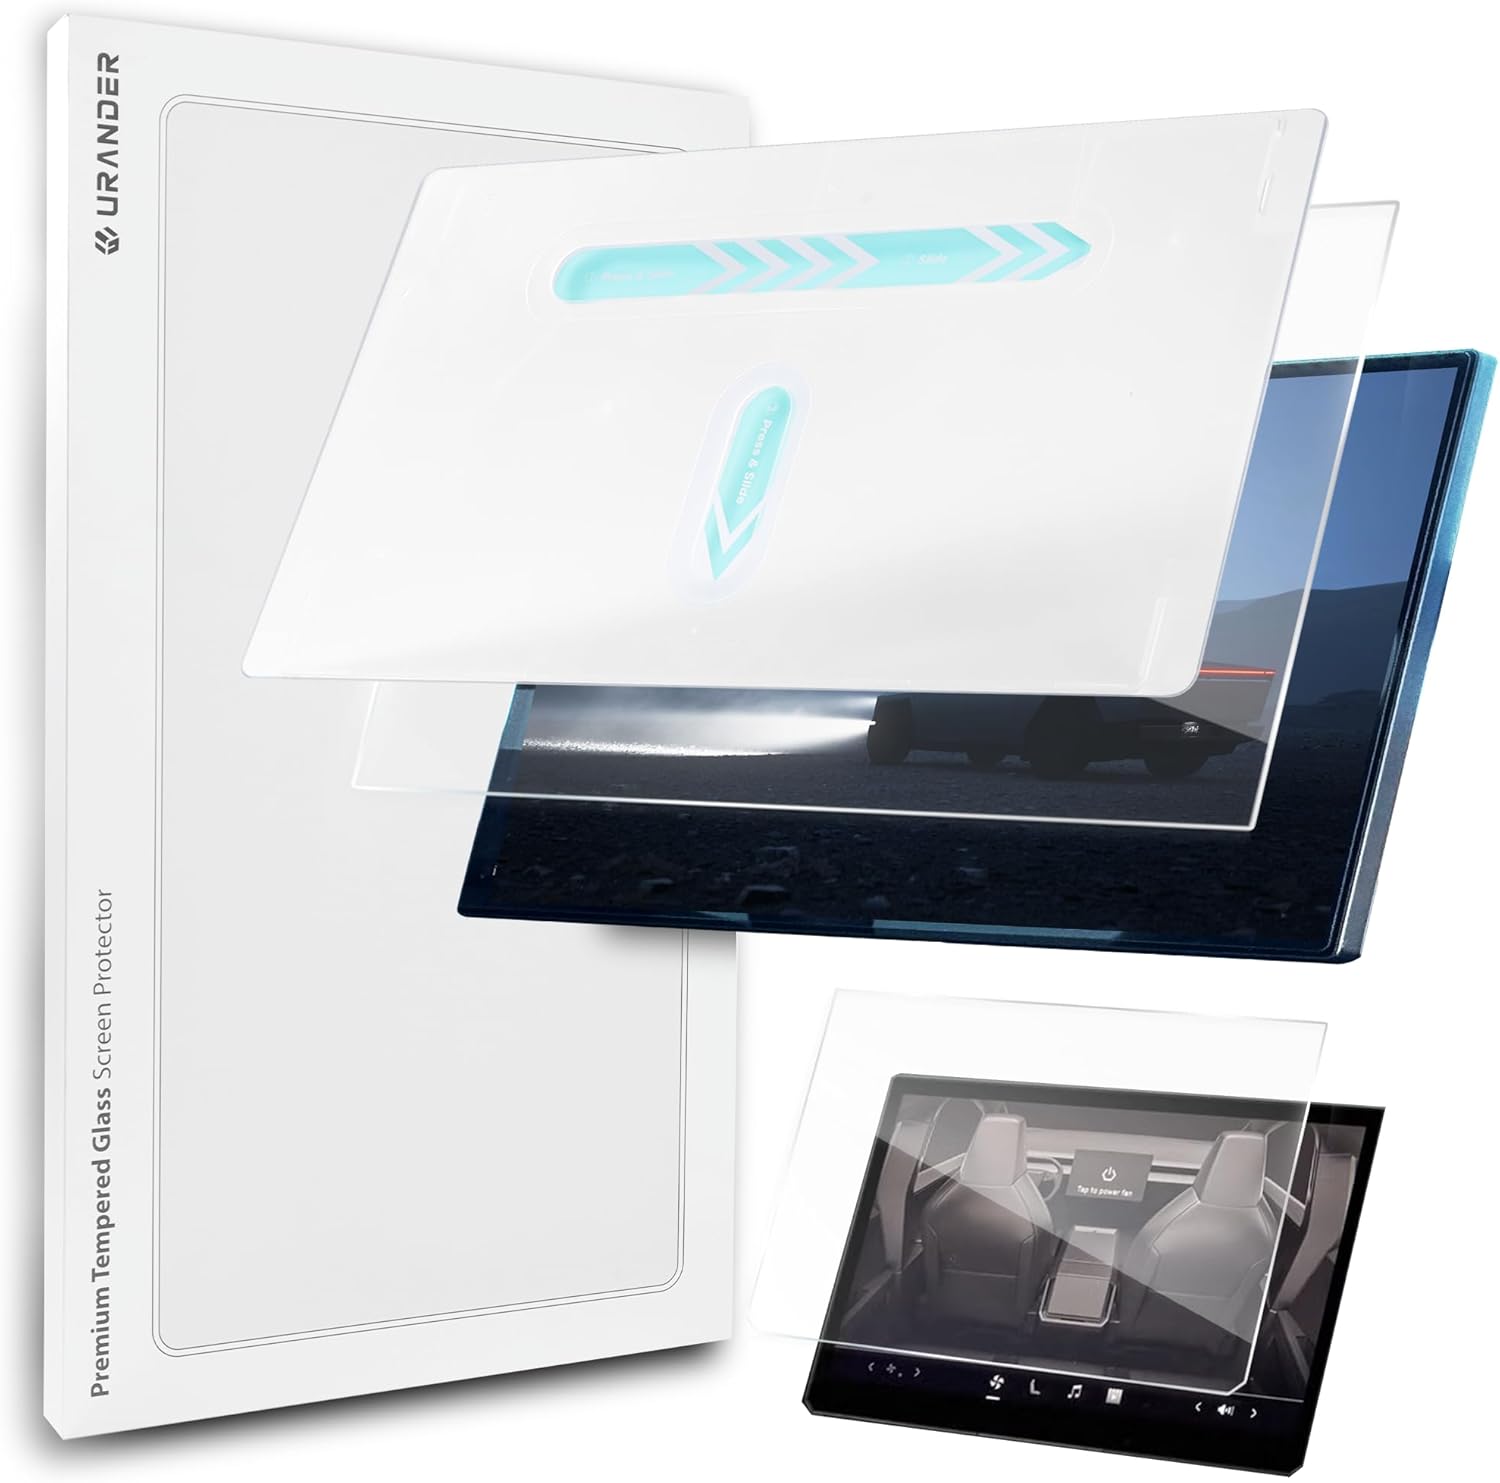
Urander tempered glass protector for the CT center display. Cuts down on glare and keeps fingerprints, dust, and trail debris off the screen.
Check Price on Amazon
KAGU all-weather floor liners, laser-scanned to fit the Cybertruck exactly. Raised edges contain mud, snow, and trail runoff, and the textured surface keeps boots planted. Covers front and rear rows.
Check Price on Amazon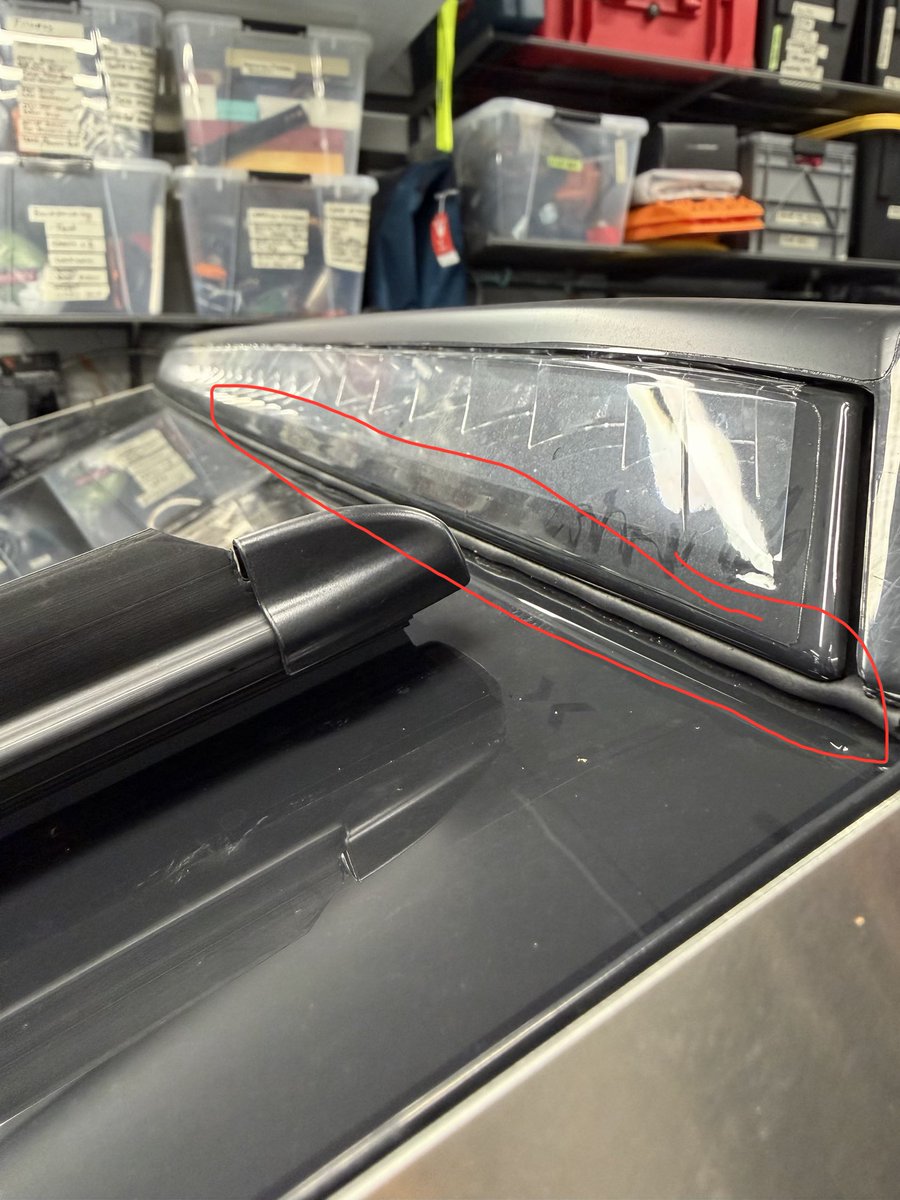
~$8
Foam backer rod stuffed around the off-road light bar housing. Cuts down wind shear noise at highway speed. Cheap, effective. Cyberbeast trim only.
Check Price on Amazon
Compact, vehicle-rated. Mount it on your MOLLE panel for quick access. Non-negotiable trail safety item.
Check Price on Amazon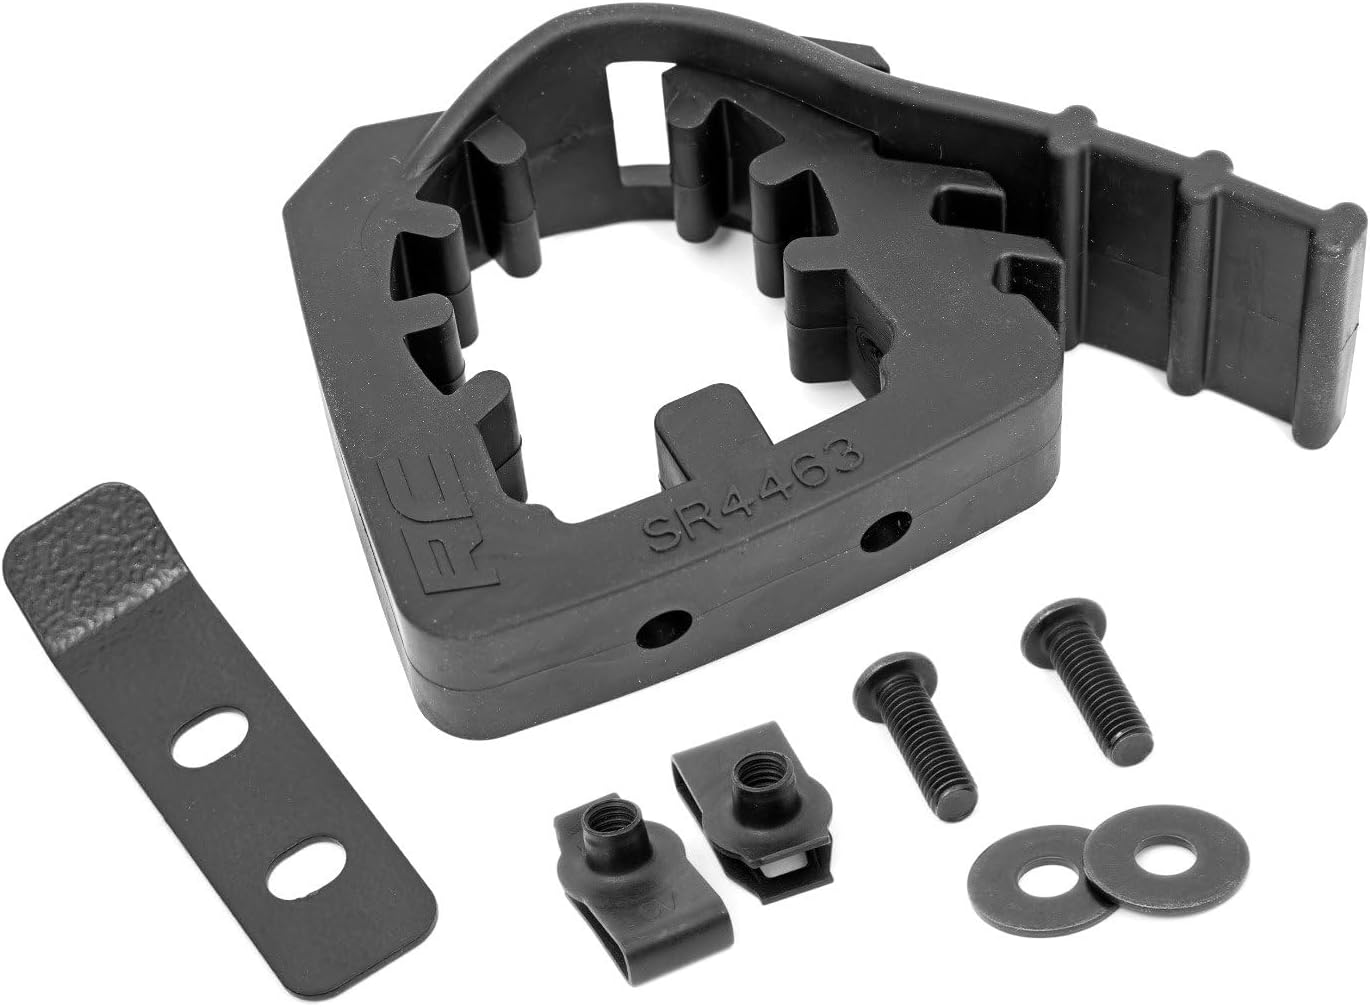
MOLLE panel for the CT bed wall. Attach pouches, fire extinguisher, tools — modular organization.
Check Price on Amazon
BuiltRight threaded MOLLE/PALS fasteners. The best mounting hardware for MOLLE panels — solid, no rattle.
Check Price at BuiltRight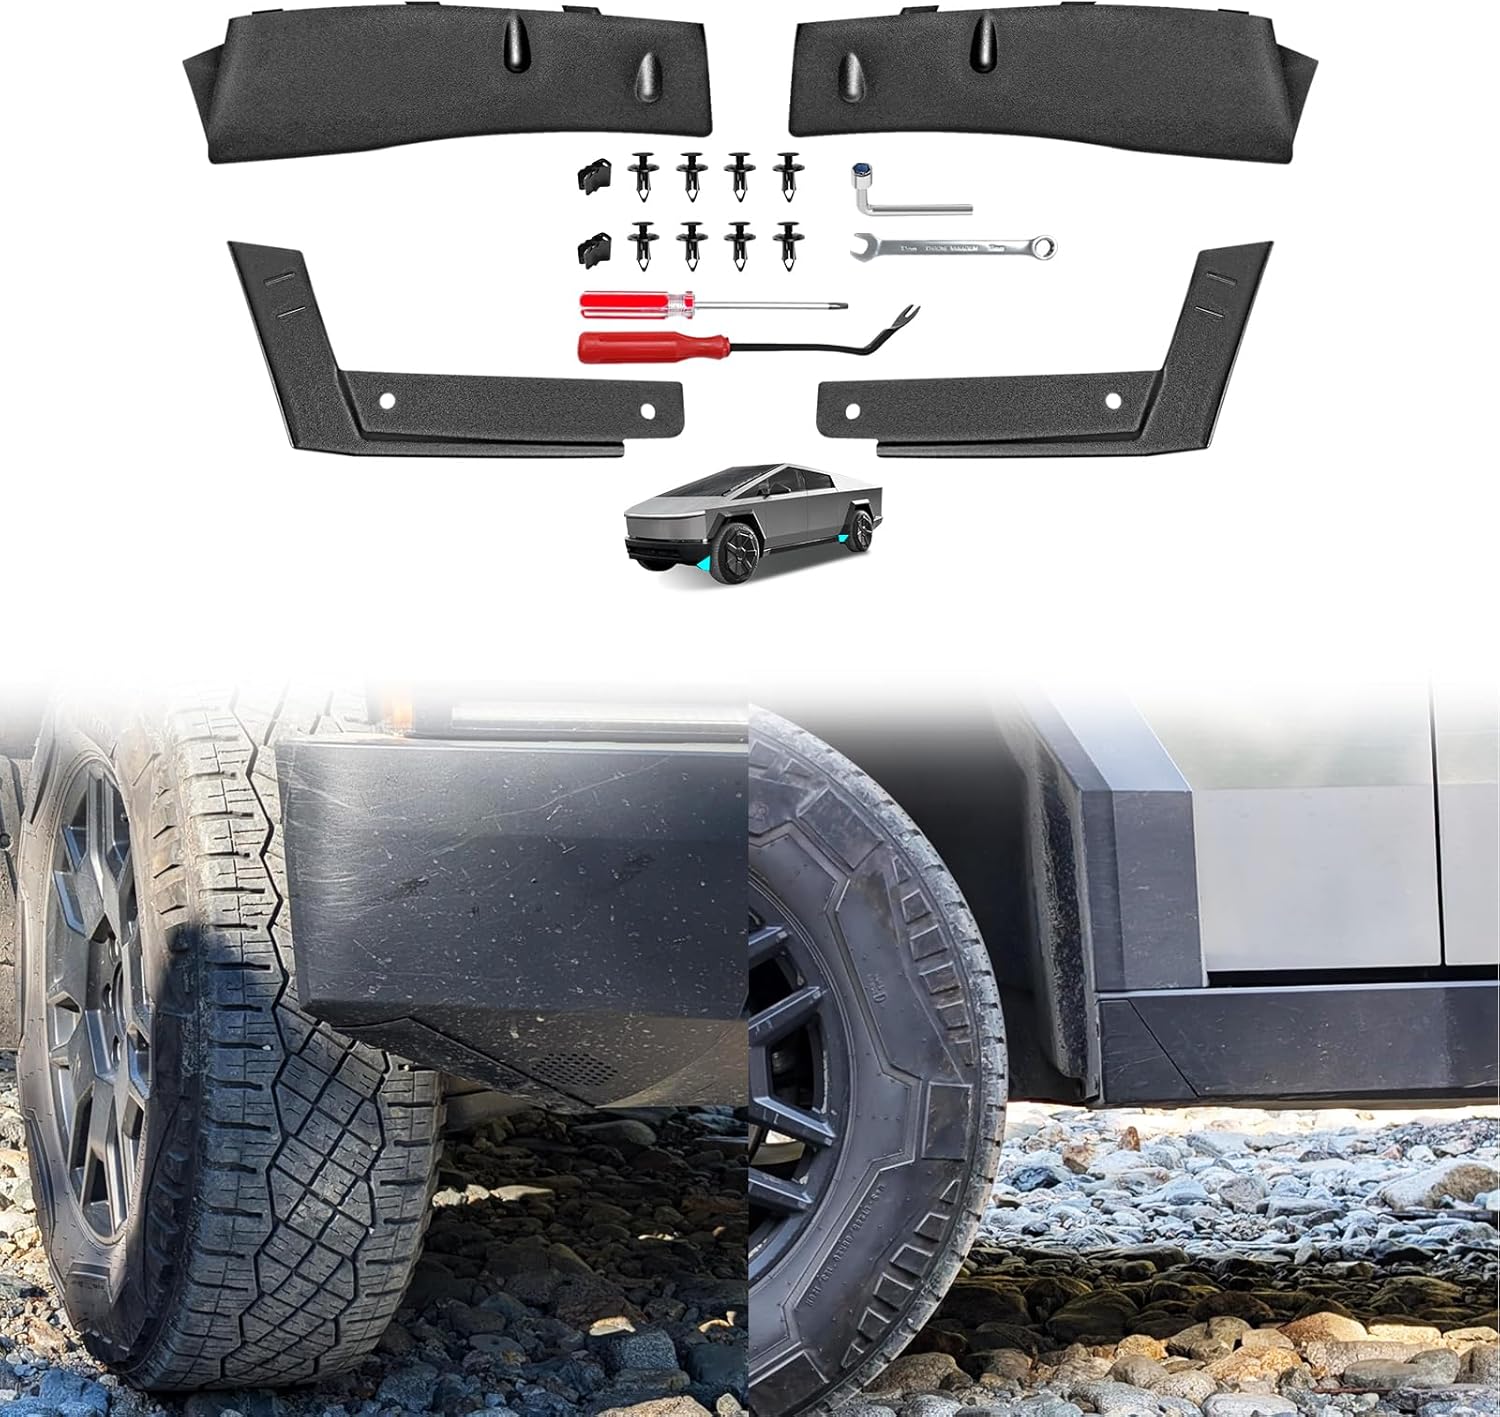
Removes the plastic wheel well fairings for more tire clearance off-road. Simple bolt-off install.
Check Price on Amazon
Keeps the powered tonneau cover sliding smoothly. Apply after dusty/muddy trail runs to prevent grit buildup.
Check Price on Amazon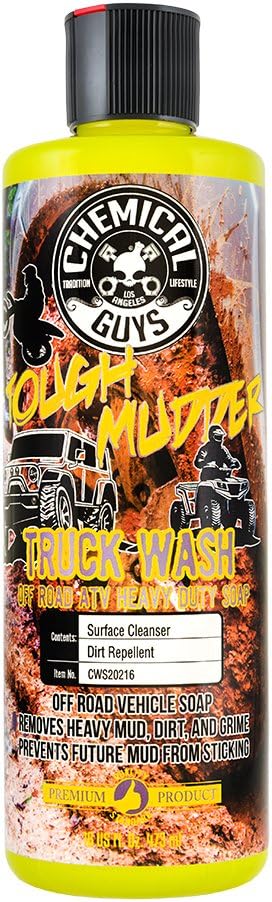
Formulated for heavy mud and trail grime. Spray on, rinse off. Safe on the CT's stainless panels.
Check Price on Amazon
Soft99 hydrophobic coating. Wipe it on the Autopilot cameras and water beads off fast for a clear picture in the rain. Great on the fender, pillar, bumper, and rear cameras.
Check Price on Amazon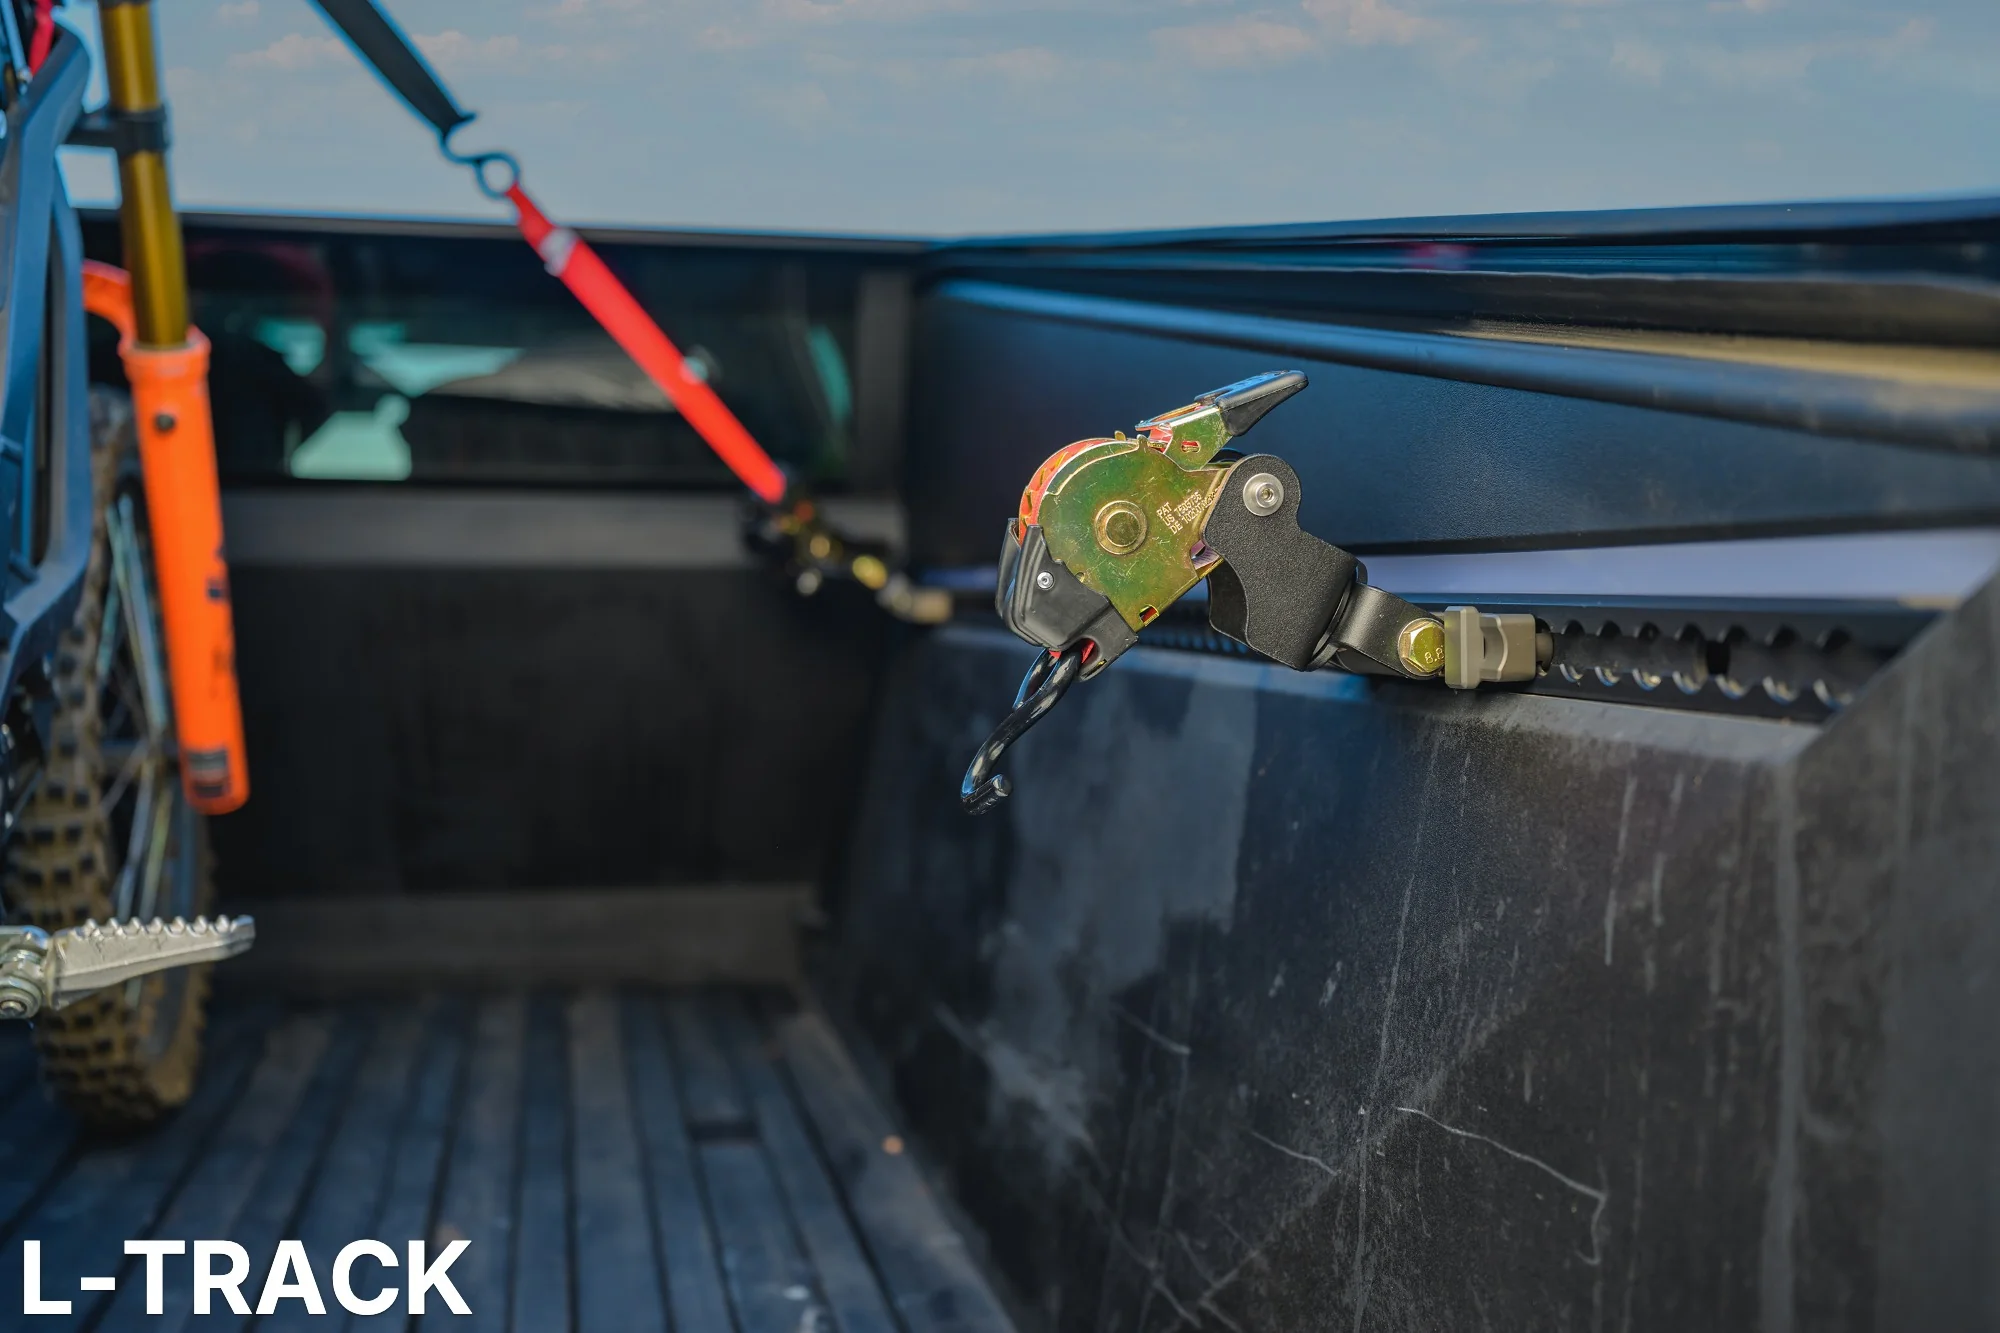
Juggernaut Designs. Retractable ratchet straps that clip into the CT's L-track bed rails. Clean, no loose strap ends flapping. Built for the Cybertruck specifically.
Use code "POLYGON" for 10% off
Check Price at Juggernaut Designs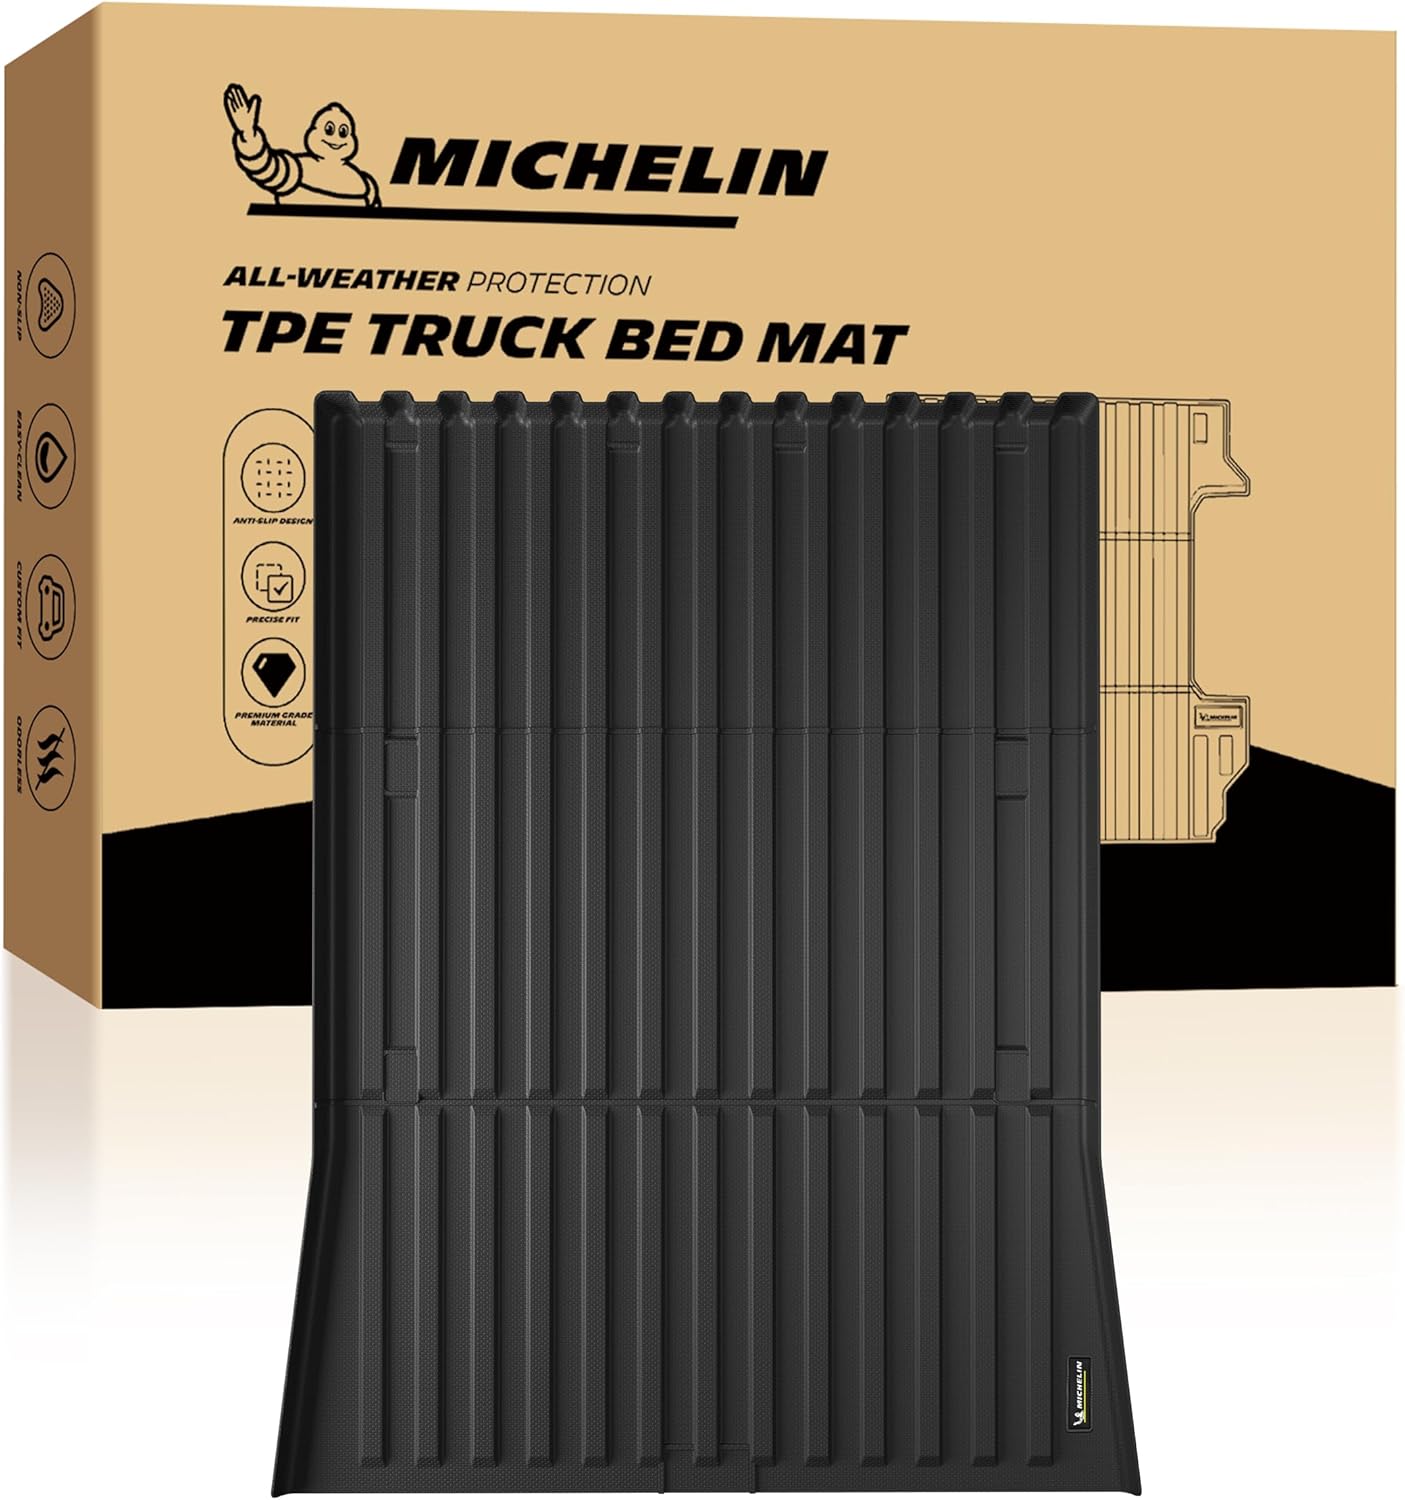
Heavy-duty bed mat cut for the CT. Protects the bed floor from cargo scratches and impacts. Non-slip surface.
Foundation & Early 2025 Late 2025+
Per @DaveMattson on X: the Little Giant Jumbo Step (3) stepladder is the perfect height for easy old-man entry and exit of the CyberTent.
Check Price on Amazon
Portable pressurized sprayer for anytime you need to hose something down in the field. Blast the sand off your tonneau before you open it so grit doesn't fall into the bed — or rinse off boots, gear, and dogs at the trailhead.
Check Price on AmazonGroup runs, meetups, and Cybertruck off-road rallies.
// Cybertrex Events
Find upcoming Cybertruck off-road events, group runs, and meetups. The main hub for organized CT trail runs.
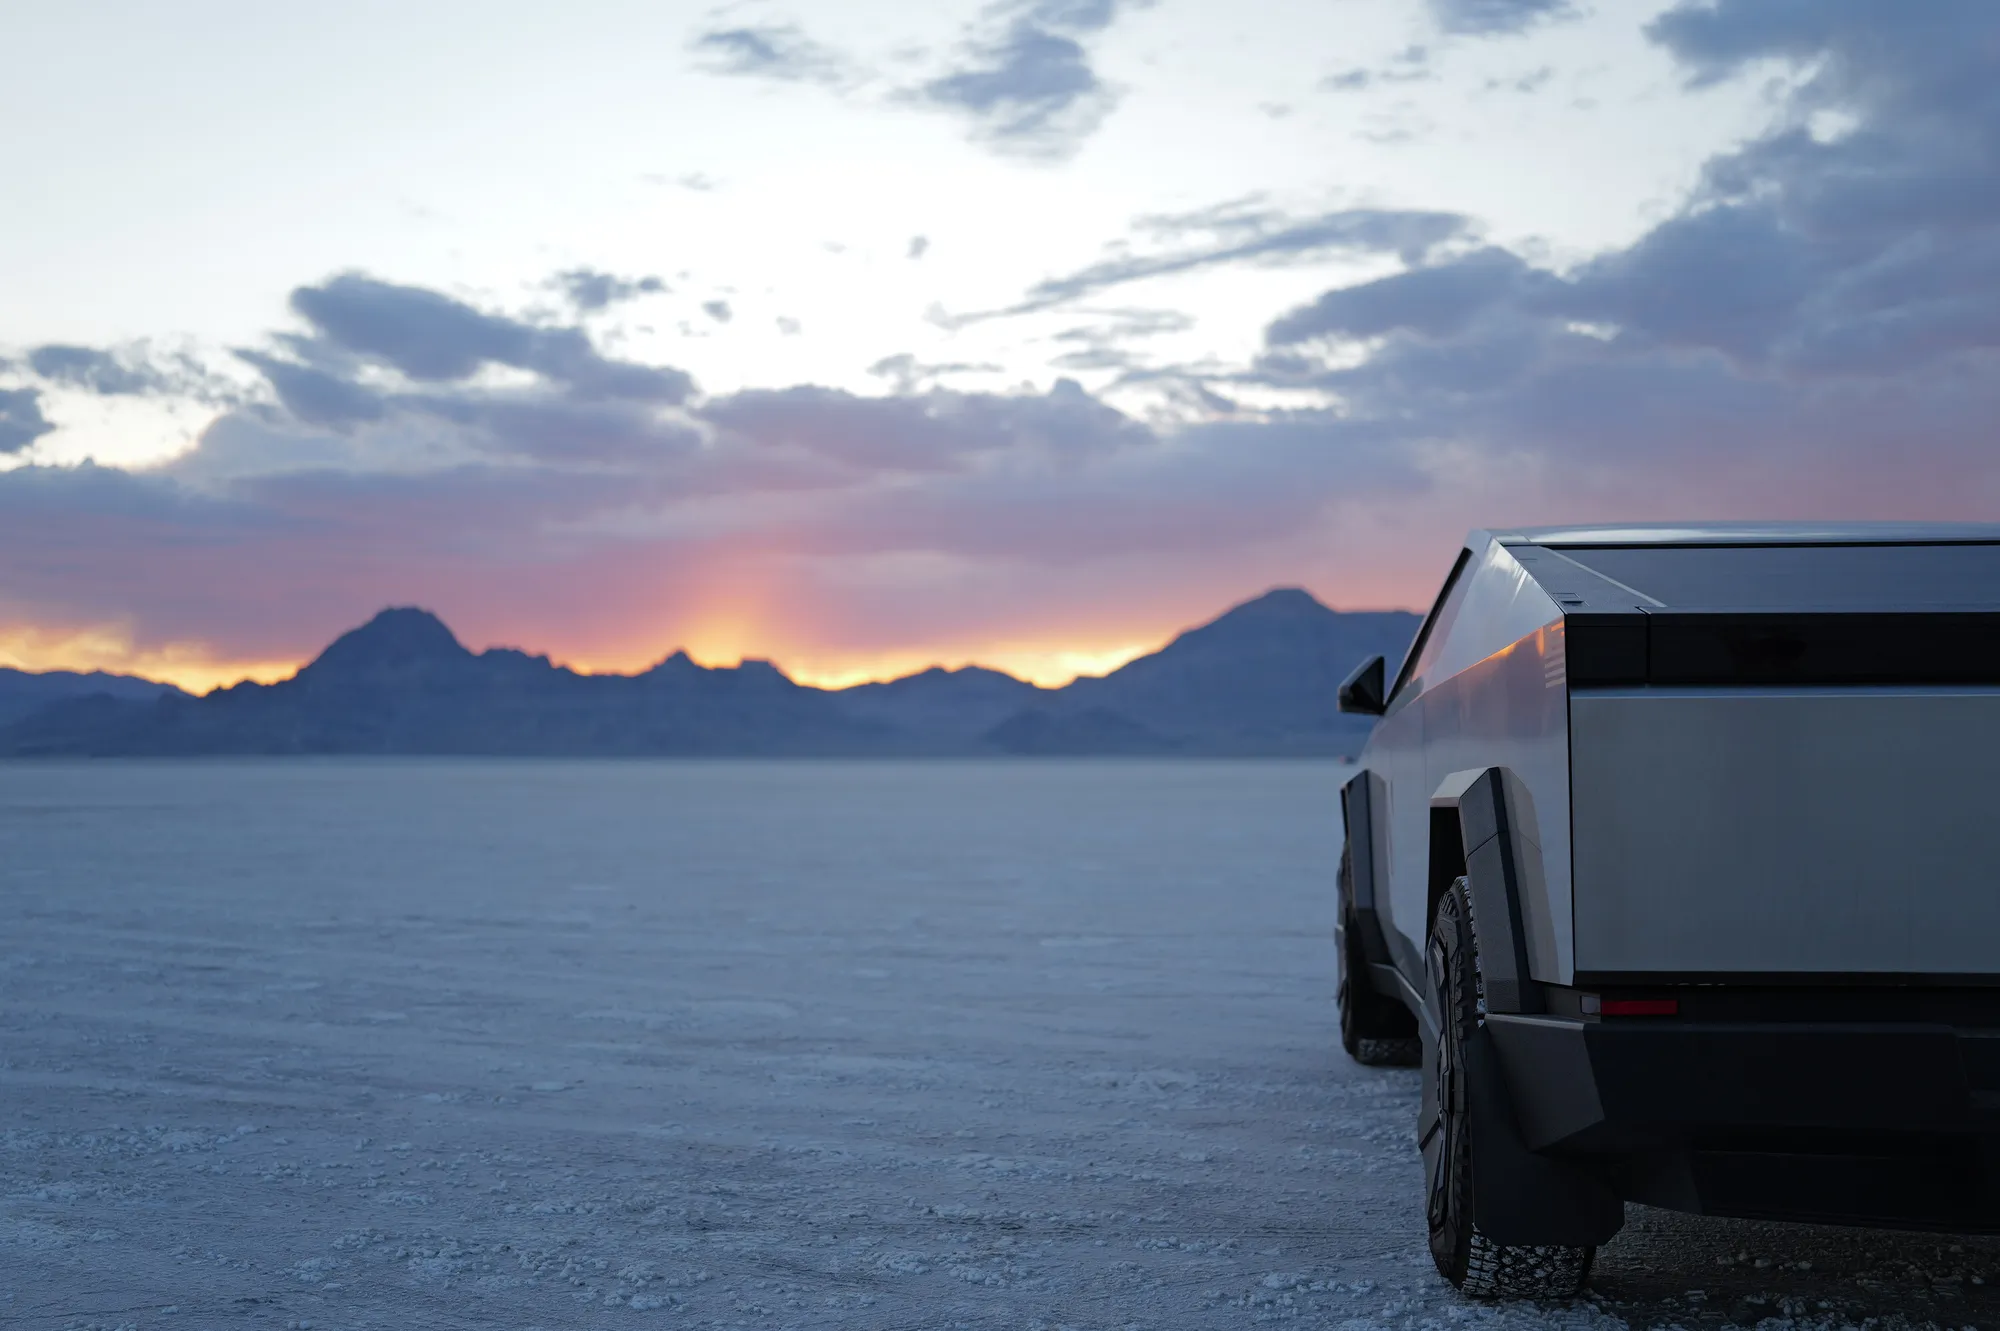
View EventsThe Cybertruck in its natural habitat.


